DIY Painted Tote Bag
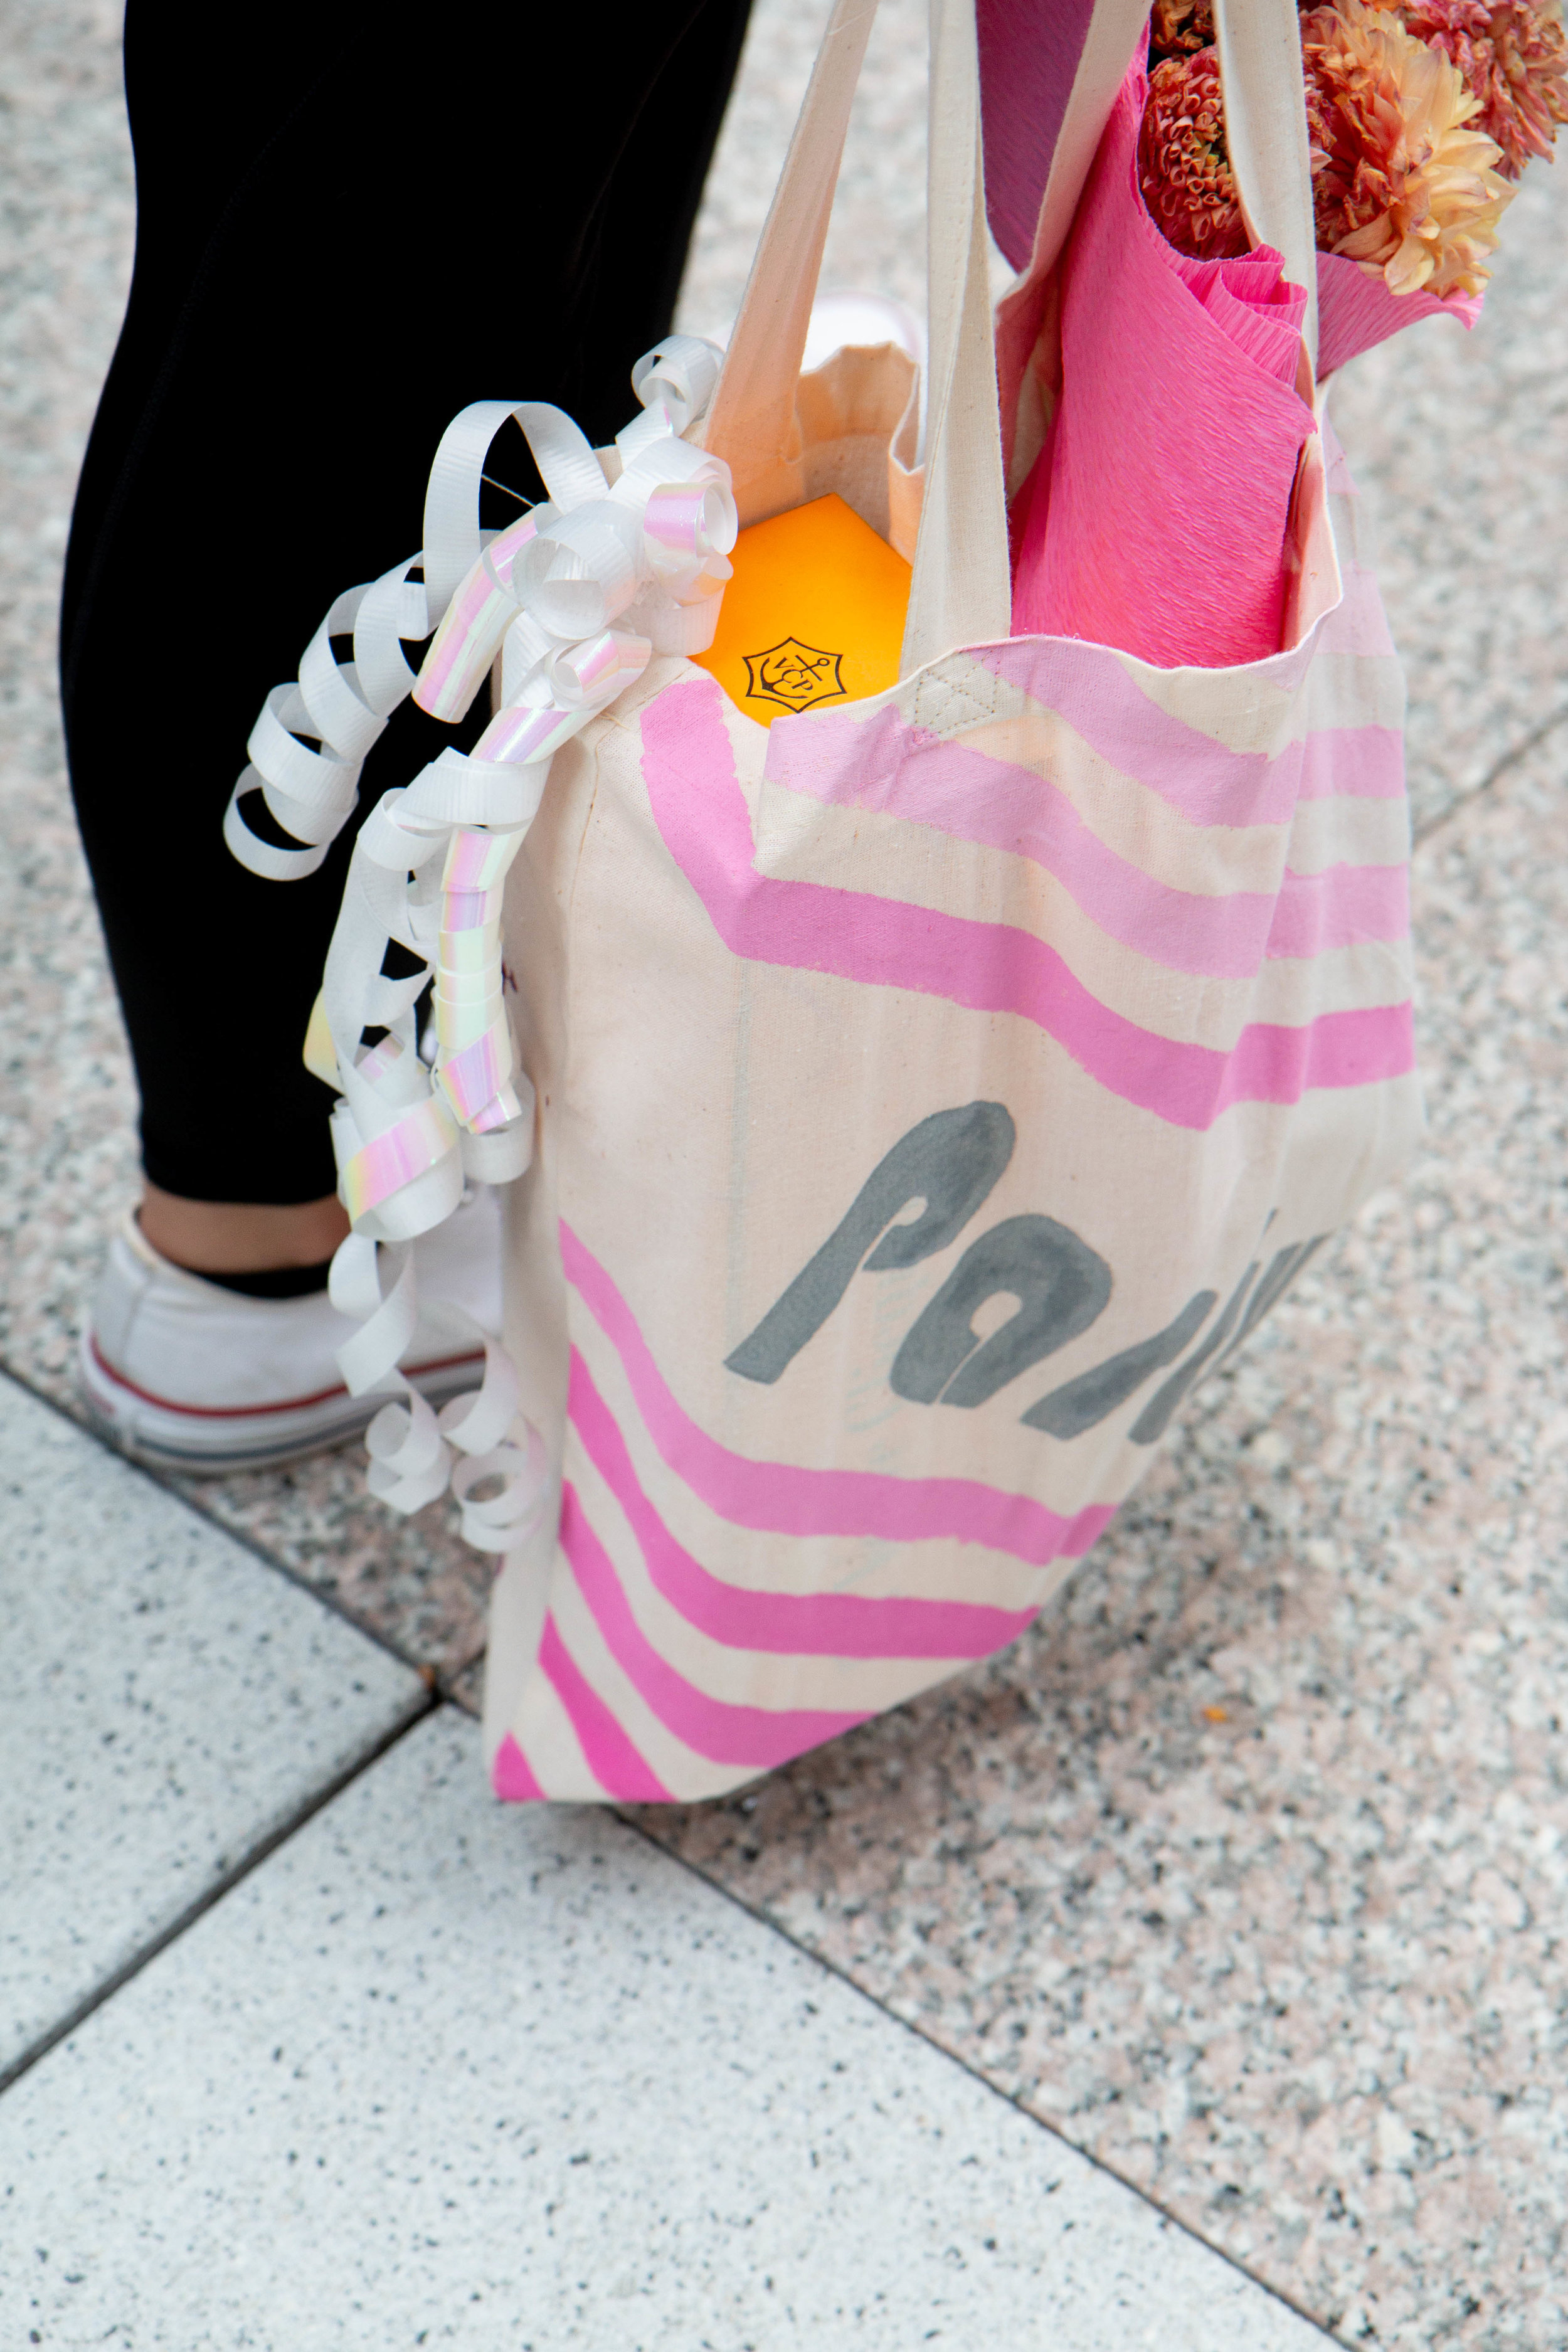
For months we had a few plain tote bags hanging on the back of our door. Seri was about to throw them away when I stopped her and said “No!! I think we can use them for something”. Well fast forward a few months later, Maggie and I were brainstorming simple and easy DIYs and this baby popped into my head. All you need is a few items to design your tote to fit your personal style.
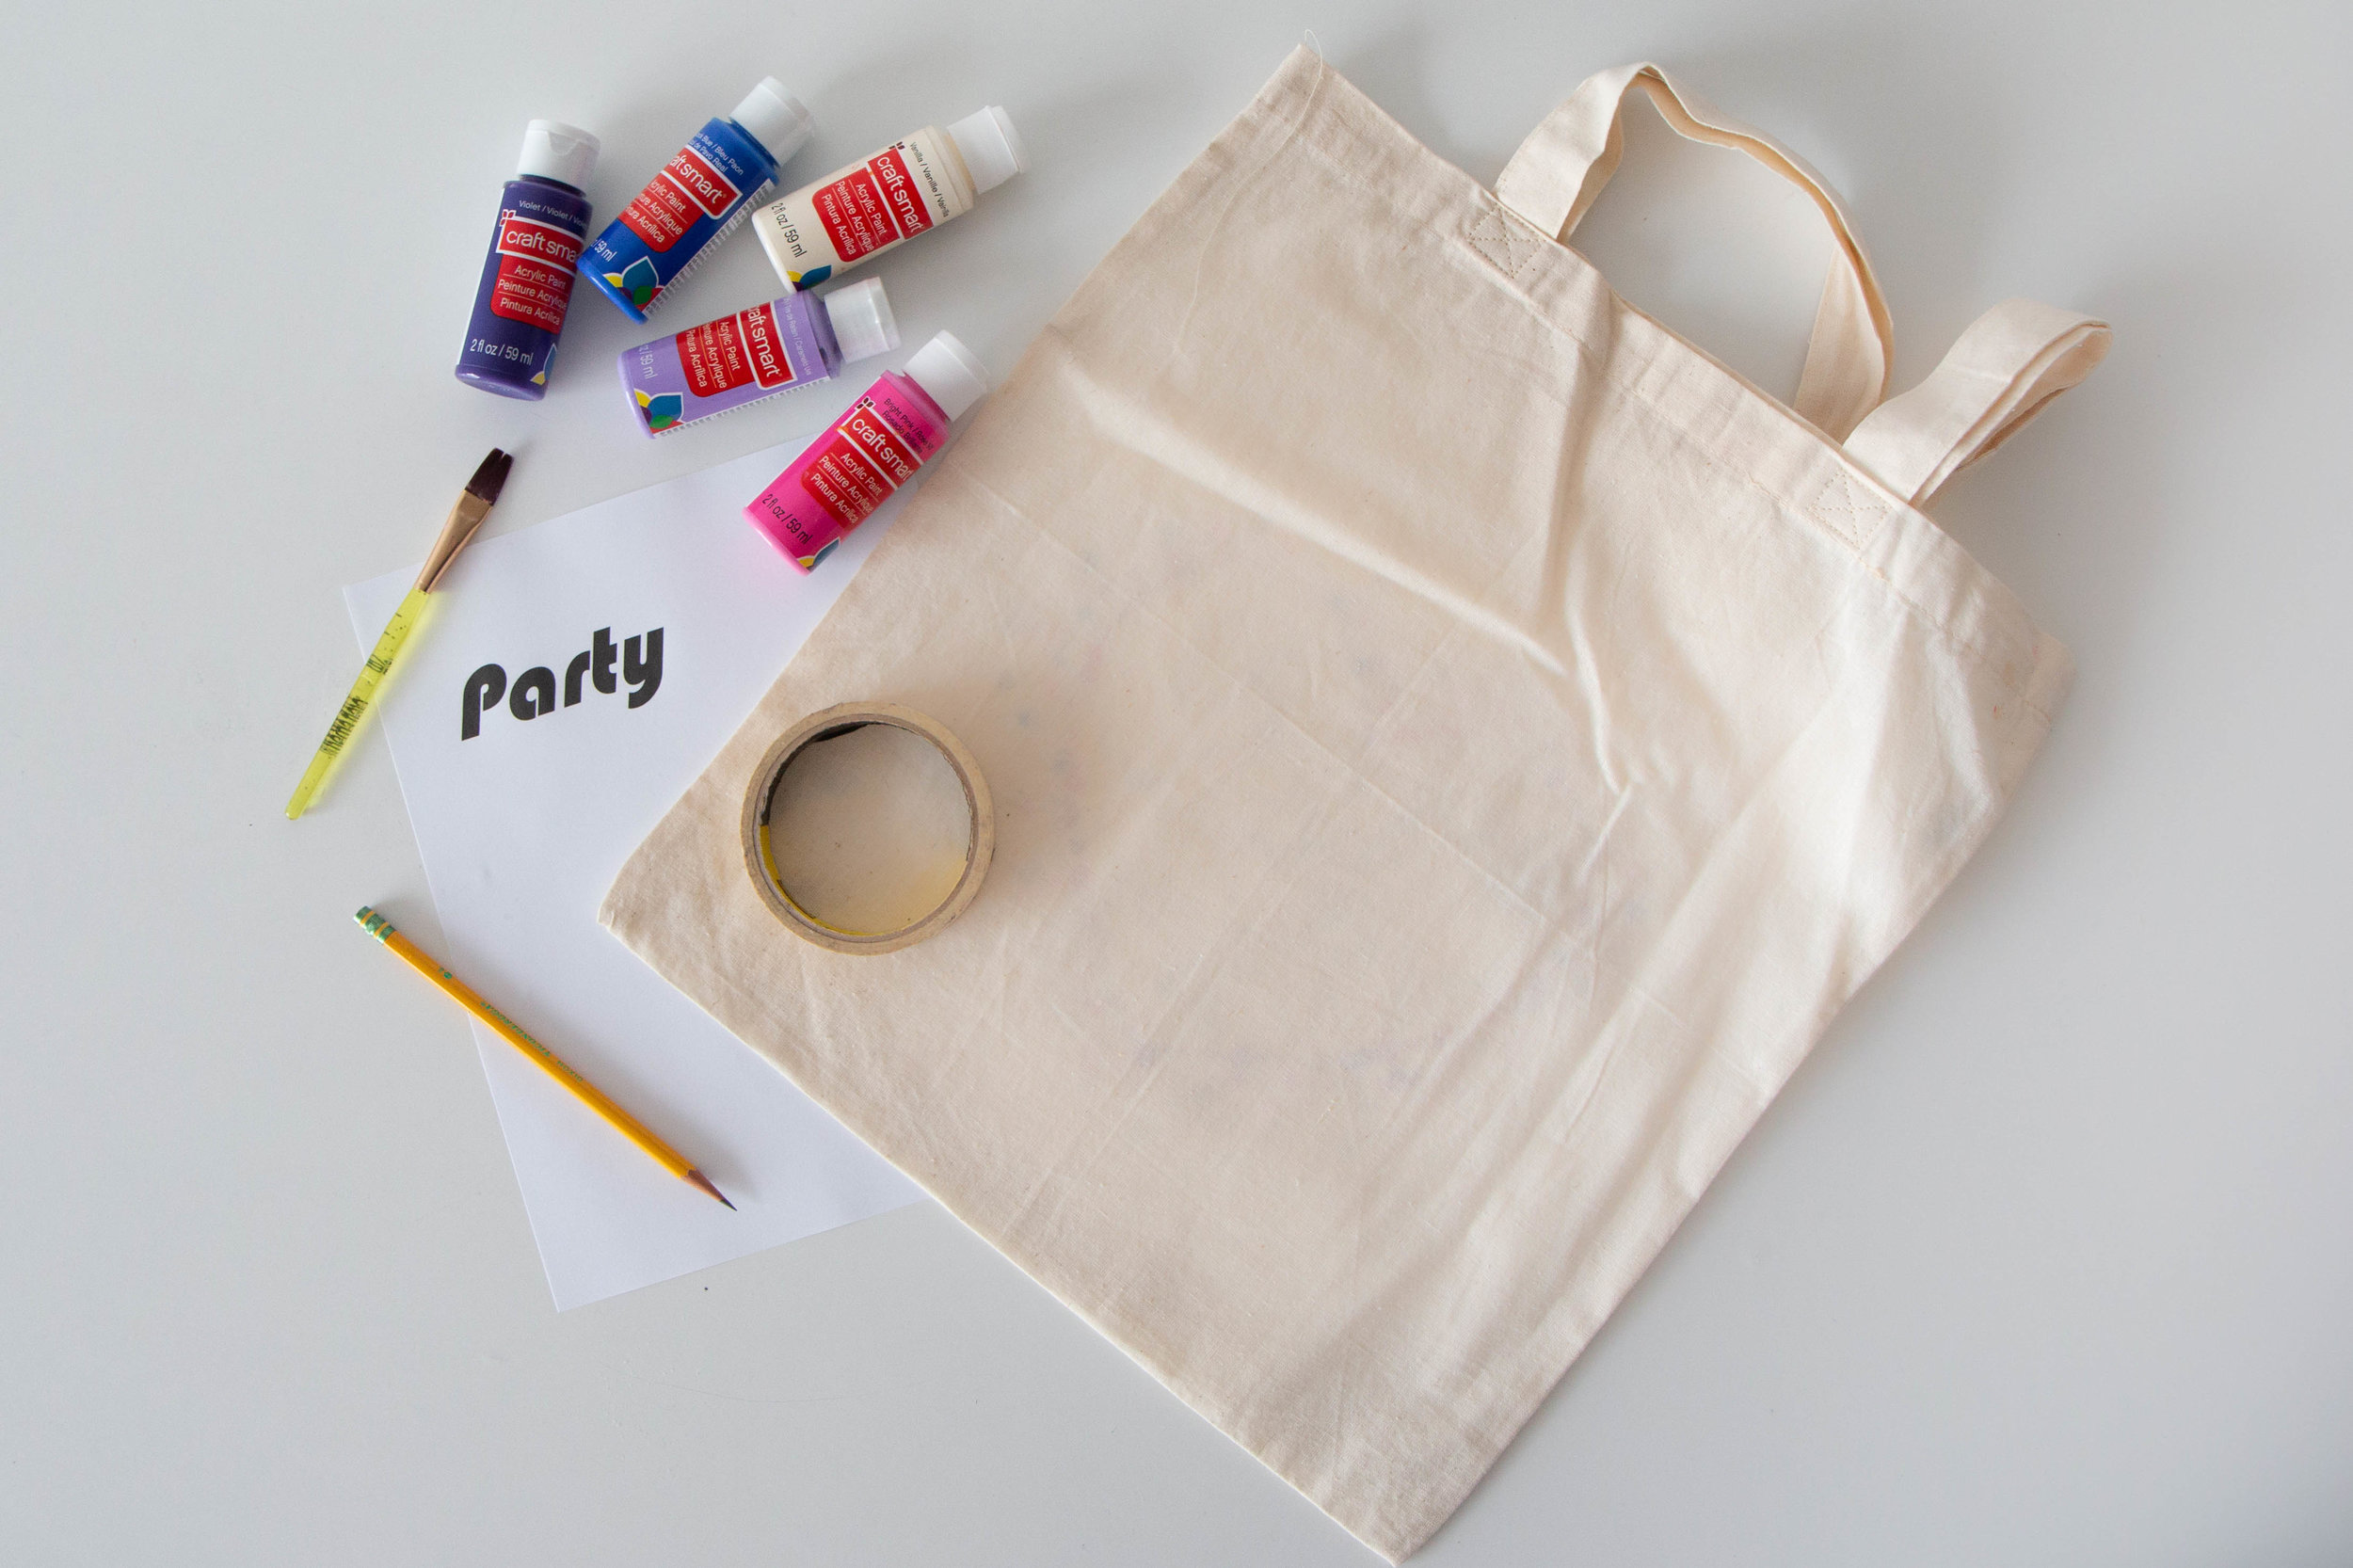
Here’s What You’ll Need:
A Small Paint Brush
Pencil
Step 1: Begin laying your painters tape across your tote bag for clean lines.
Step 2: (If you are incorporating any text), print out your saying or word in a fun font. Then simply replicate it onto your bag. It’s so much easier to look at a picture than to try to figure out a cool way to write something.
Step 3: Start painting! Be sure to stick a piece of cardboard inside the bag so that the paint does not seep through the fabric. To achieve an ombre look all you need to do is begin with a dark color and add a little big of white between sections. Tip - Make sure you start off with a lot because if you run out of paint it is very hard to try to remix the color you were working with.
Step 4: Let your tote dry for about an hour.
Step 5: Peel off all of the painters tape and you’re ready to go!
This little bag is going to become our new supply bag for whenever we have events. It’s so cute and easy to make! If you try this DIY make sure to tag us in your photos!
Happy crafting!
xo,
Natalie


