DIY Watercolor Valentines
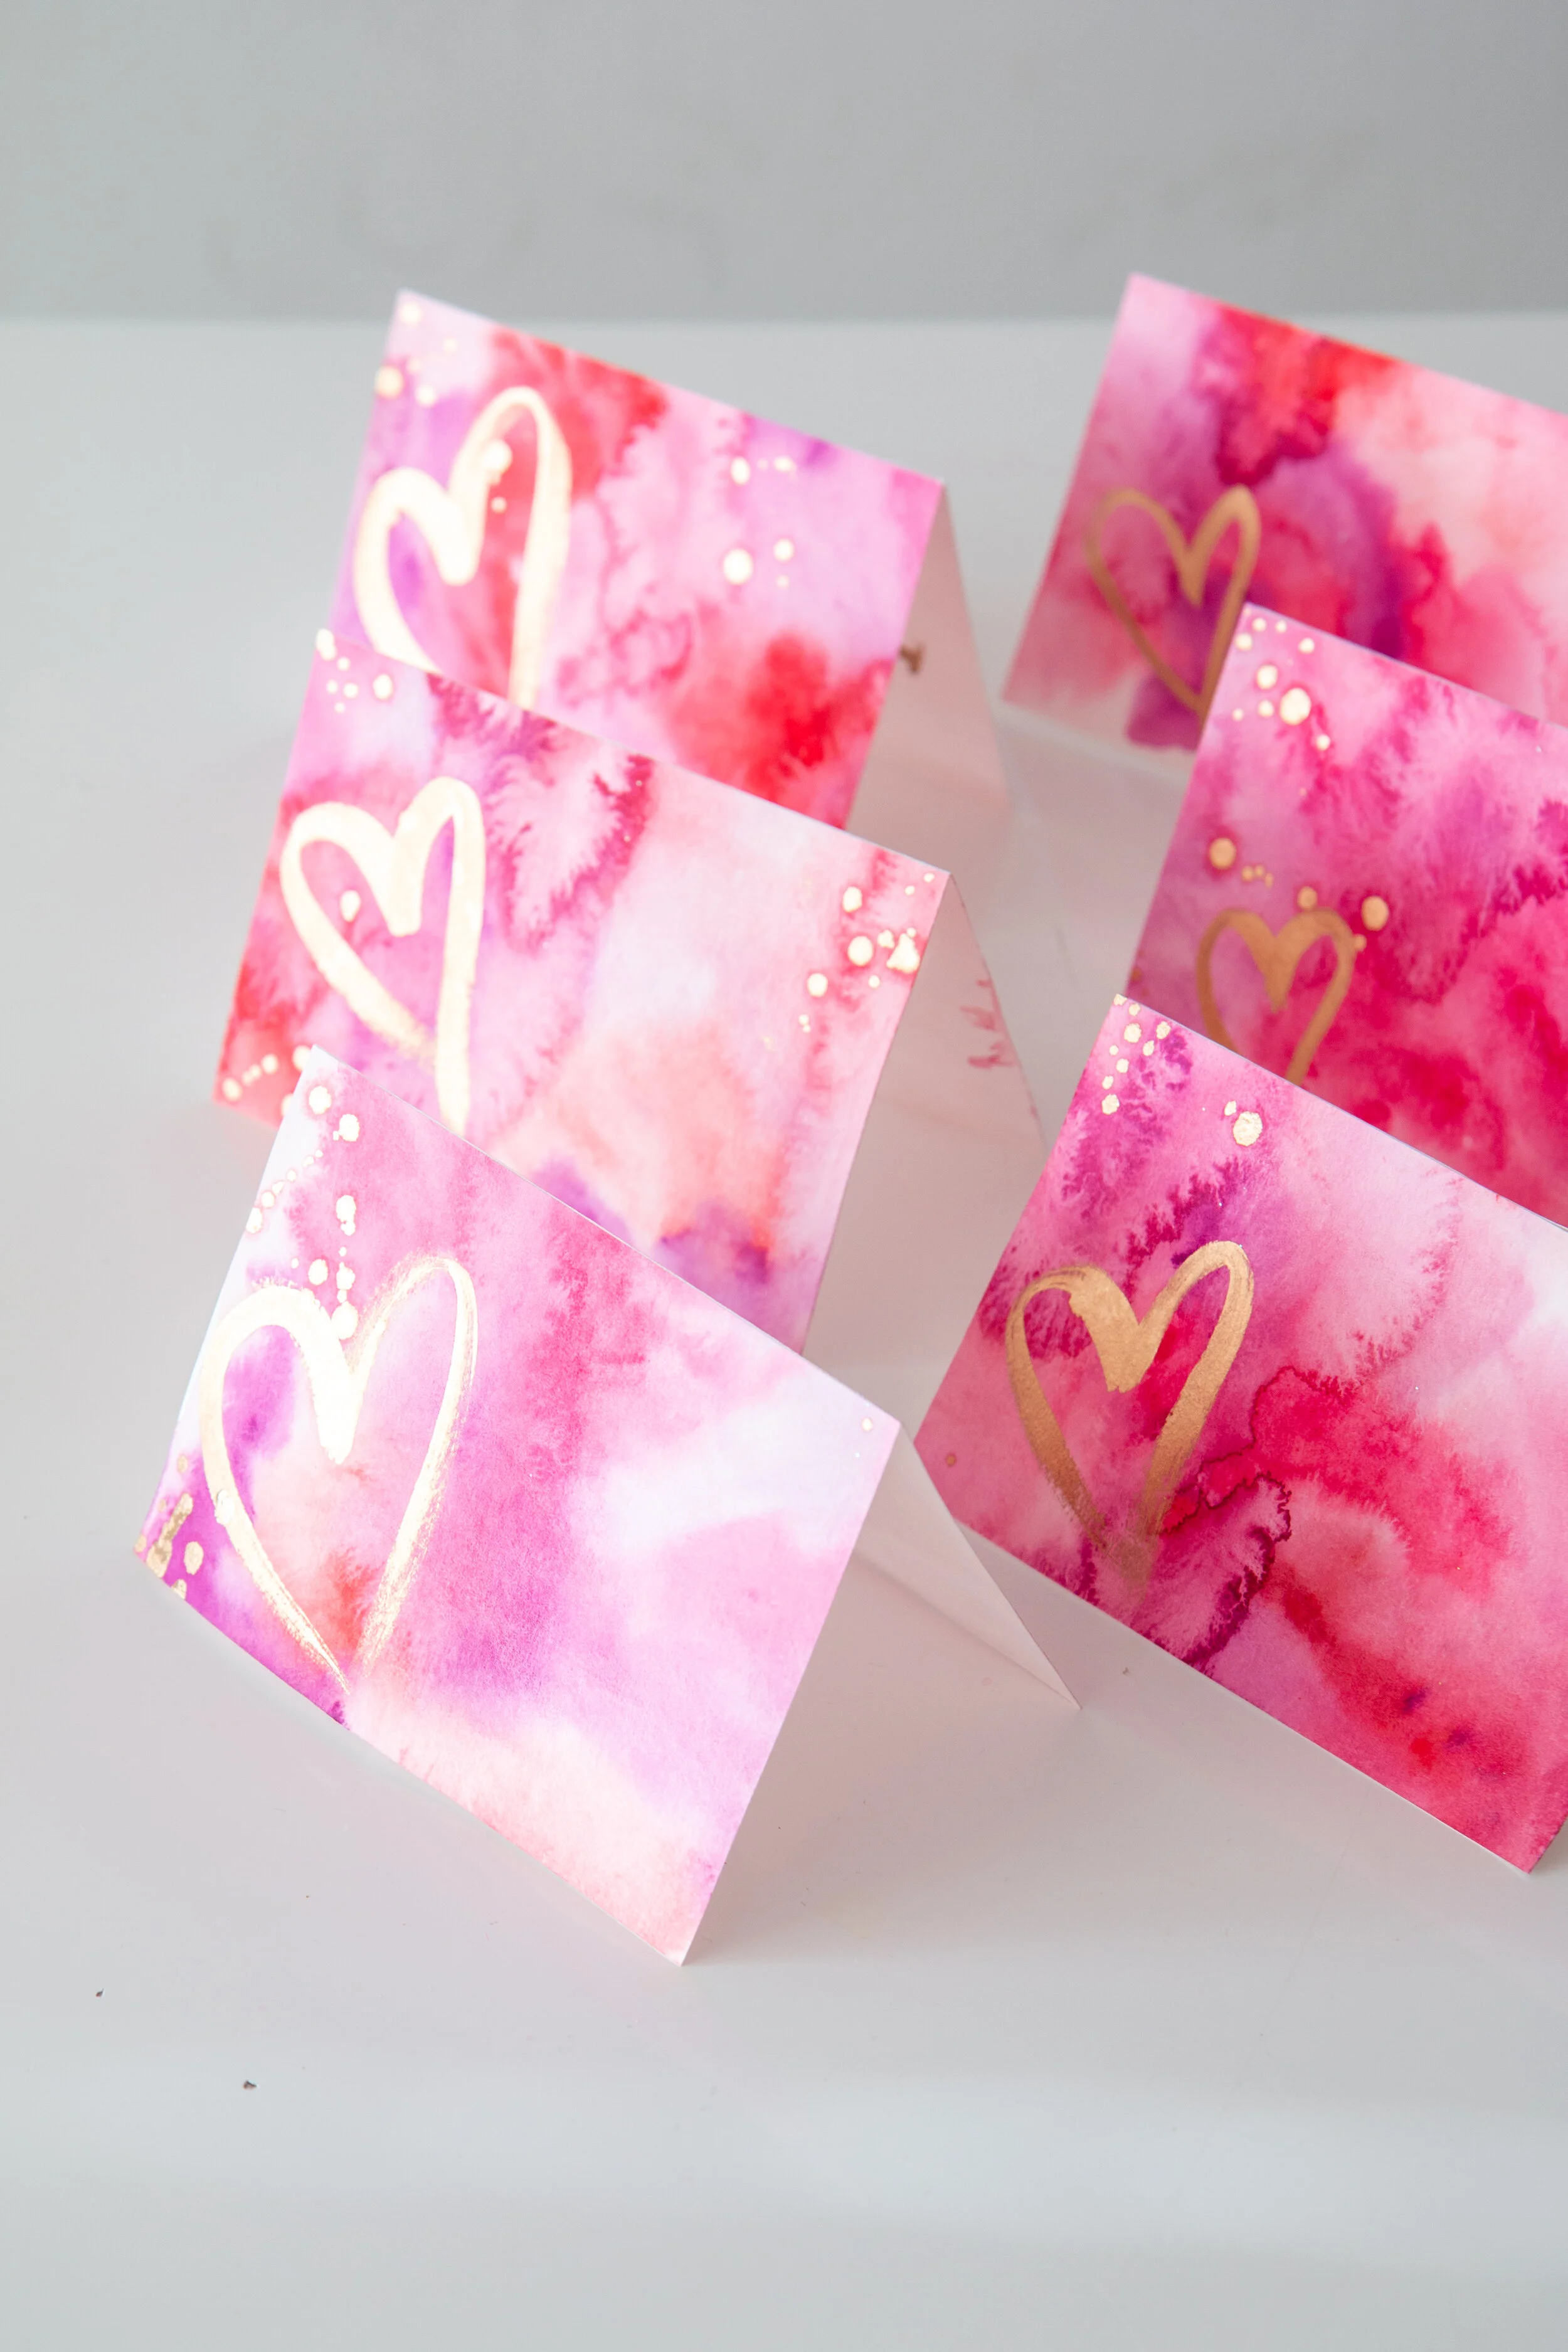
Last month Seri asked her friends on Instagram what they wanted to see us do for Valentine’s Day. When we heard you wanted to learn to make Valentines, Seri knew this was the perfect project for me. Watch the video above for an easy overview or see all the detailed steps below!
I make Valentines for all my best friends every year, and I’ve found the perfect method for making them cheap and fast without sacrificing the quality.
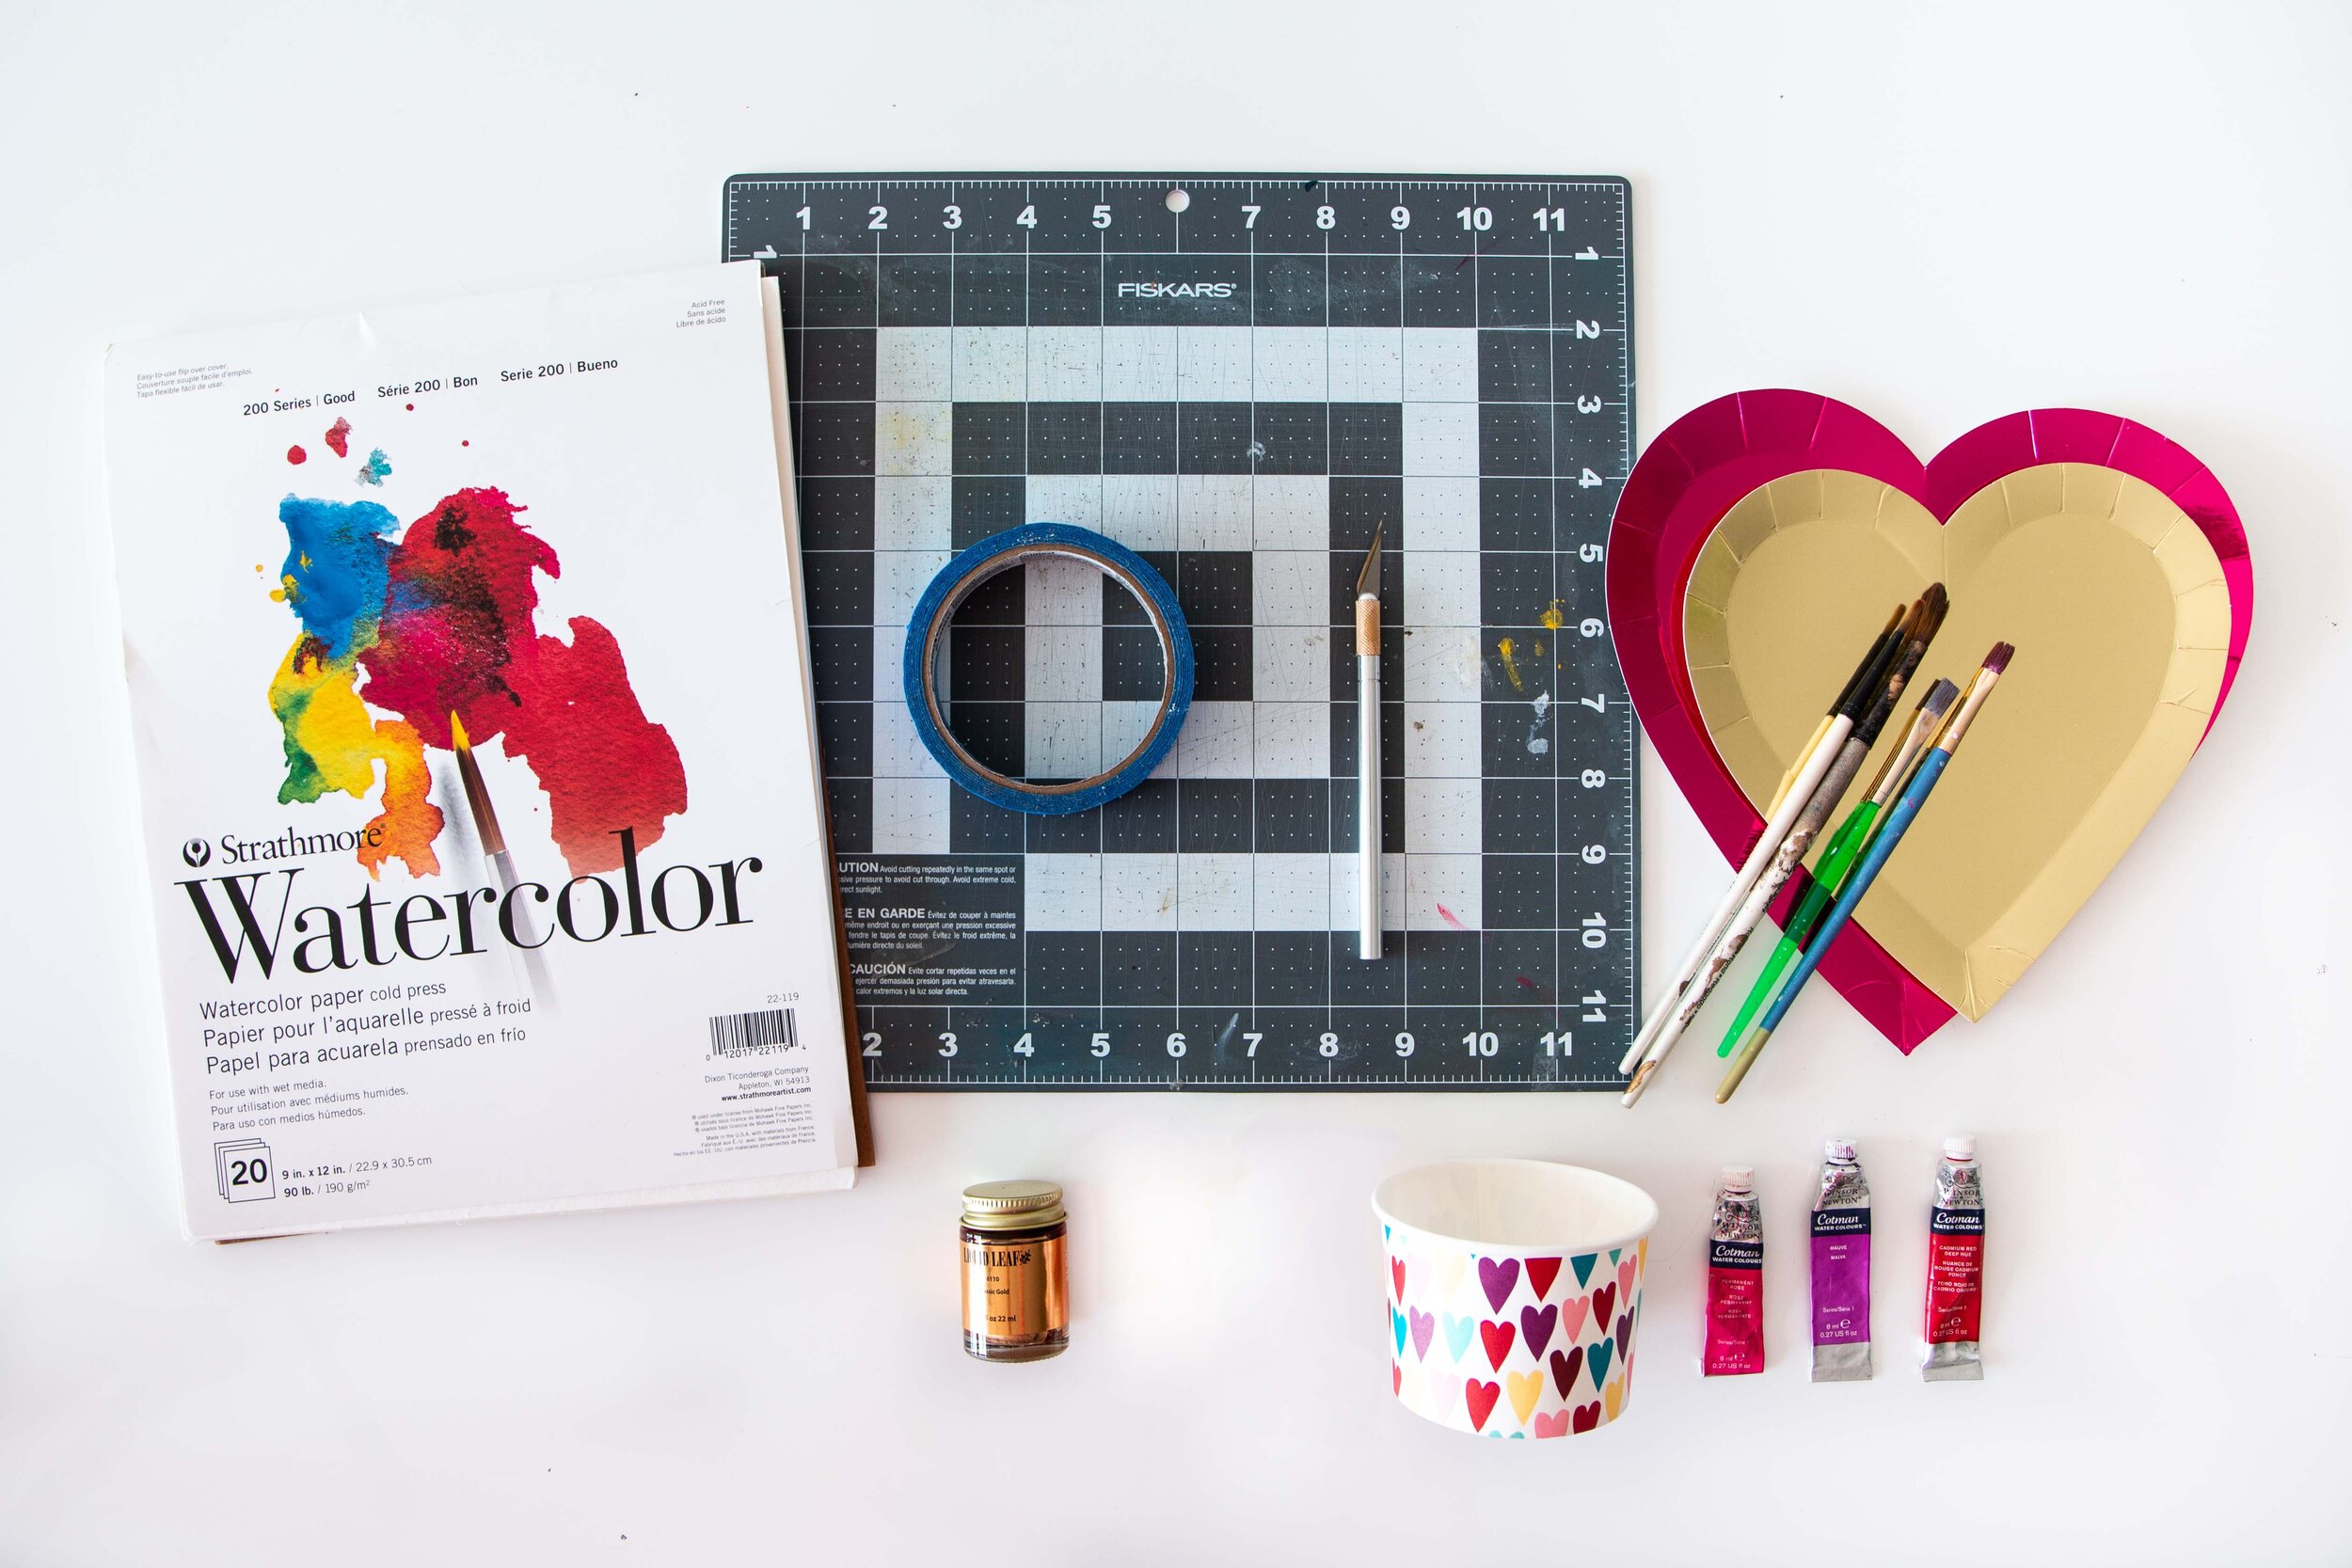
You will need to grab some supplies first. I’ll recommend my favorites, but there’s so many options out there and I recommend you trying out the items most accessible to you at your local craft store or by shipping from online.
watercolor paper- my favorite brand is Strathmore, but you can absolutely use Canson or any other brand you see online.
watercolor paints (red, pink, purple)- I use Windsor & Newton, but you do not need to use this high quality of paint. Your Valentines will come out just as nice using something as simple as this multipack by Artists Loft or something similar you’d find at your local craft store.
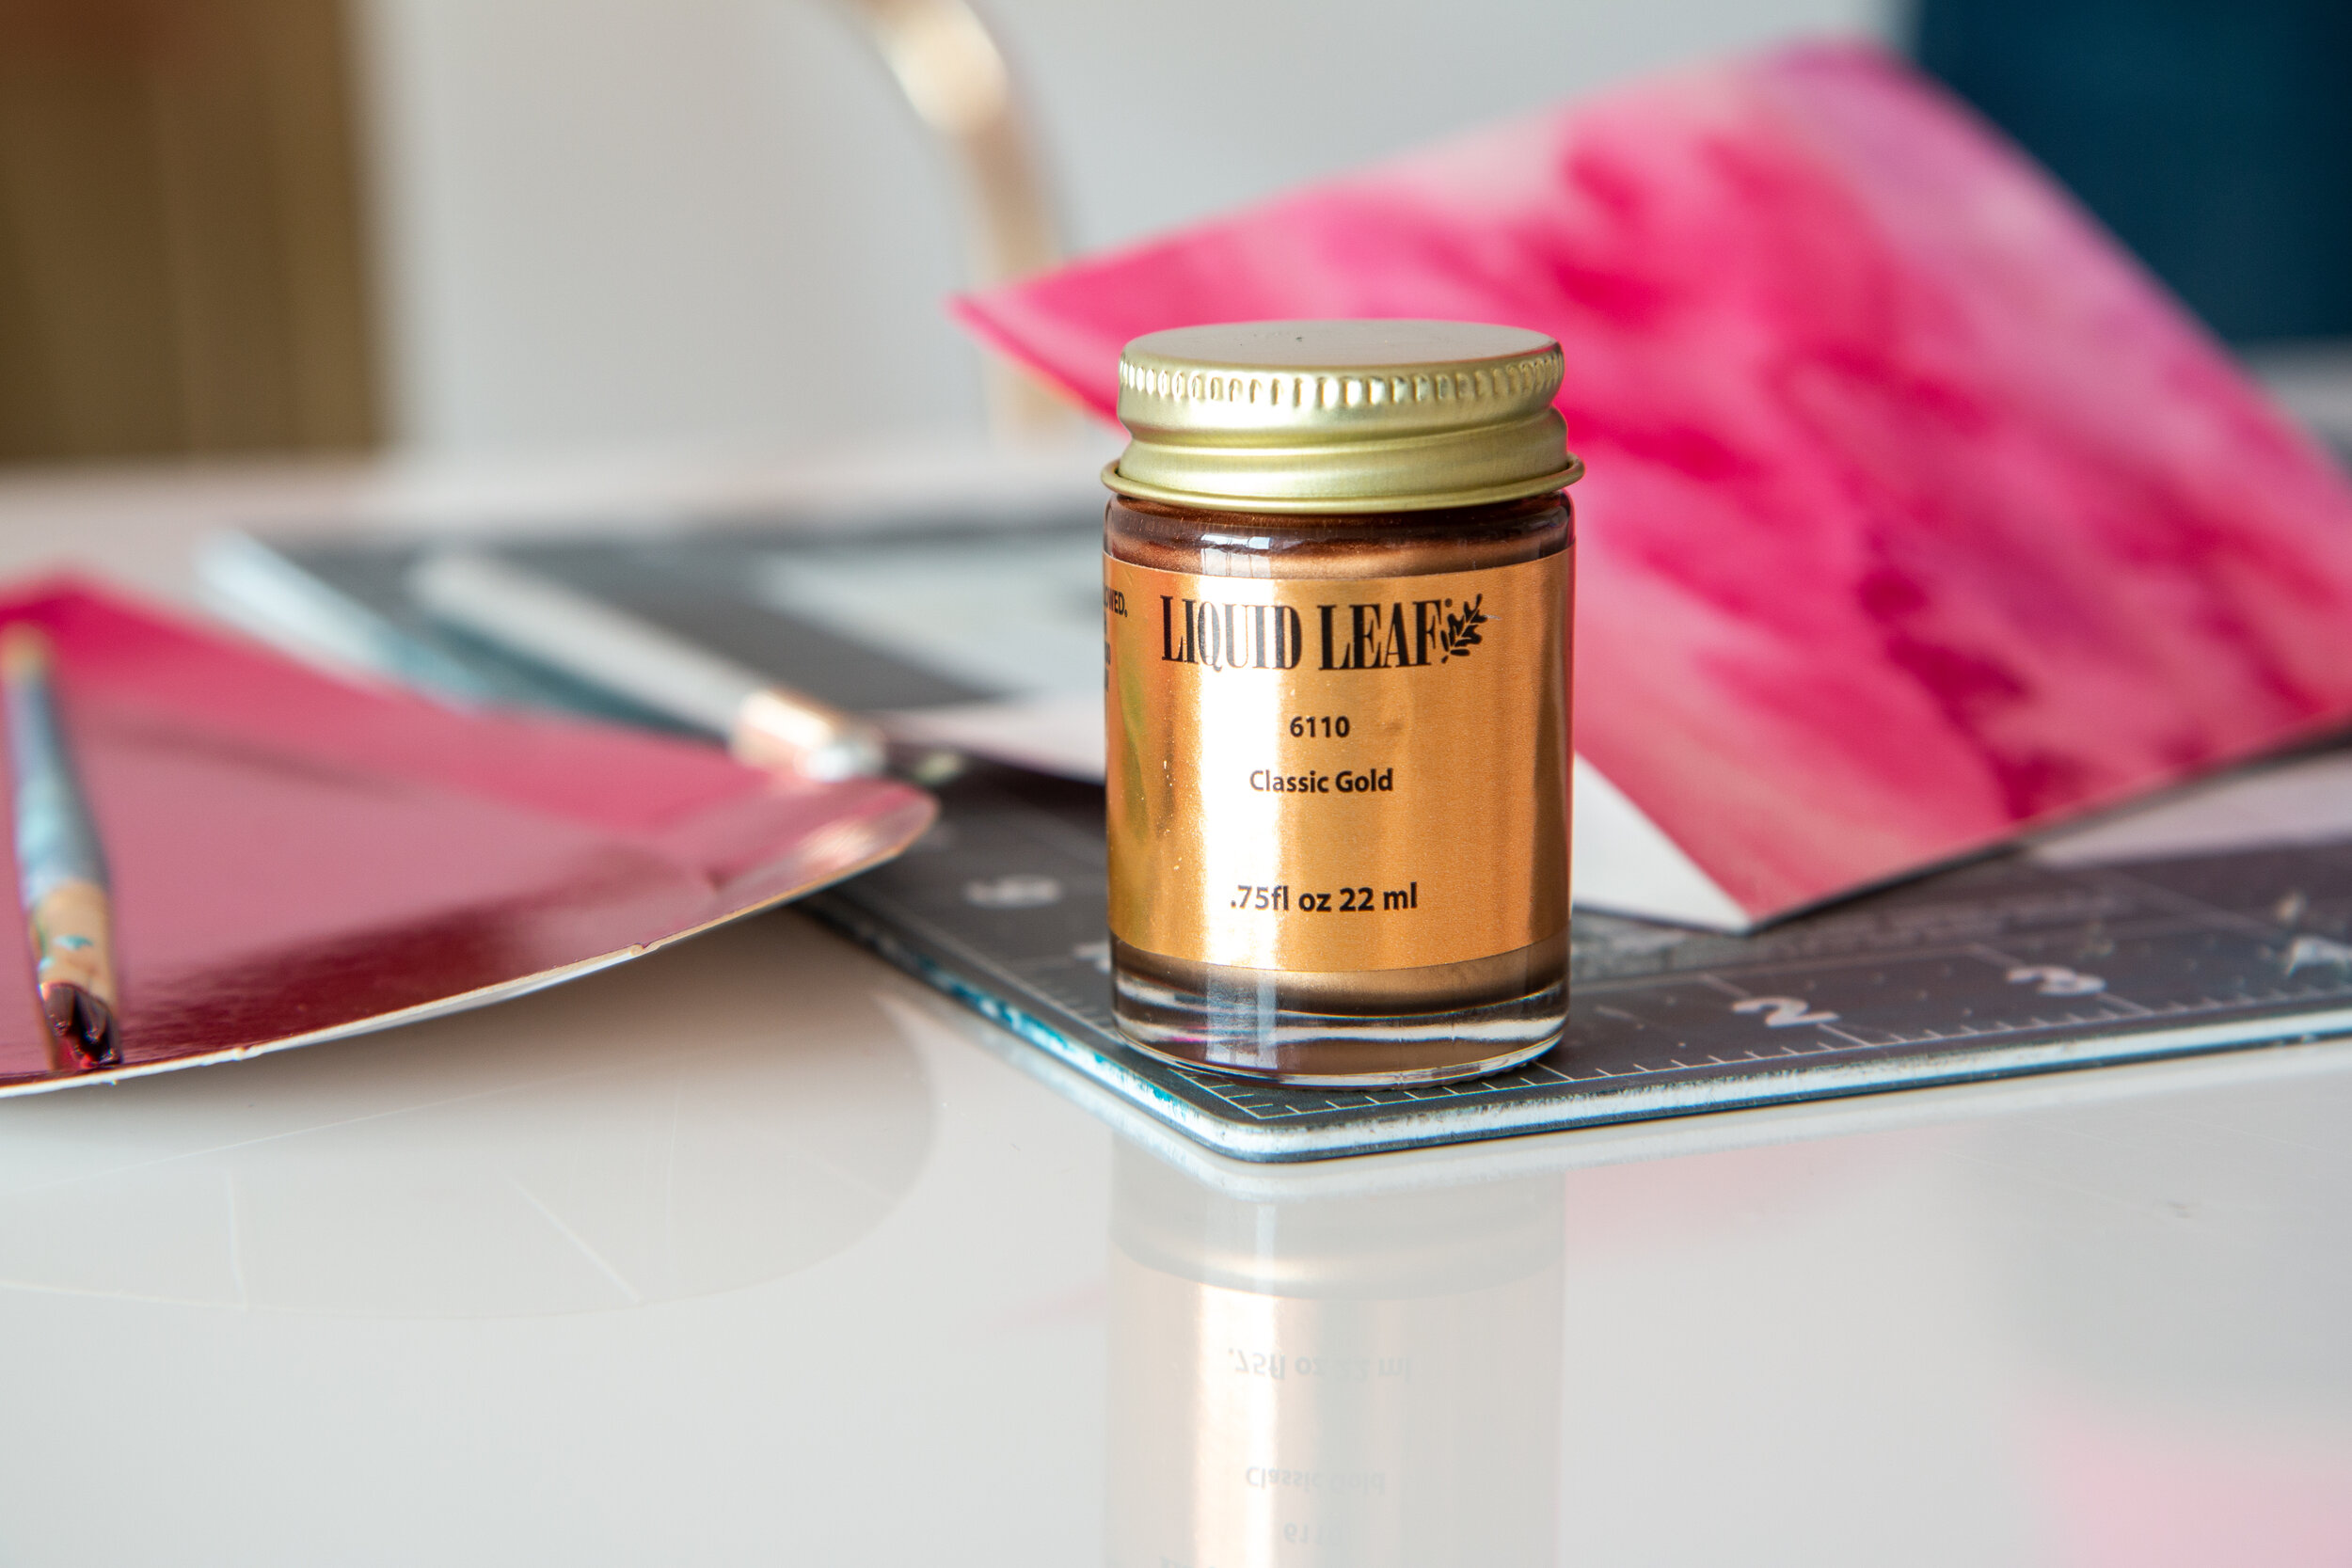
liquid gold leaf- this material is oil based and very permanent, so beware when you get it to be very careful!
paint brushes- I recommend a set of watercolor brushes, but you absolutely don’t need anything fancy. make sure you have at least one brush that you’re okay with losing, as the gold leaf often ruins the bristles when it hardens
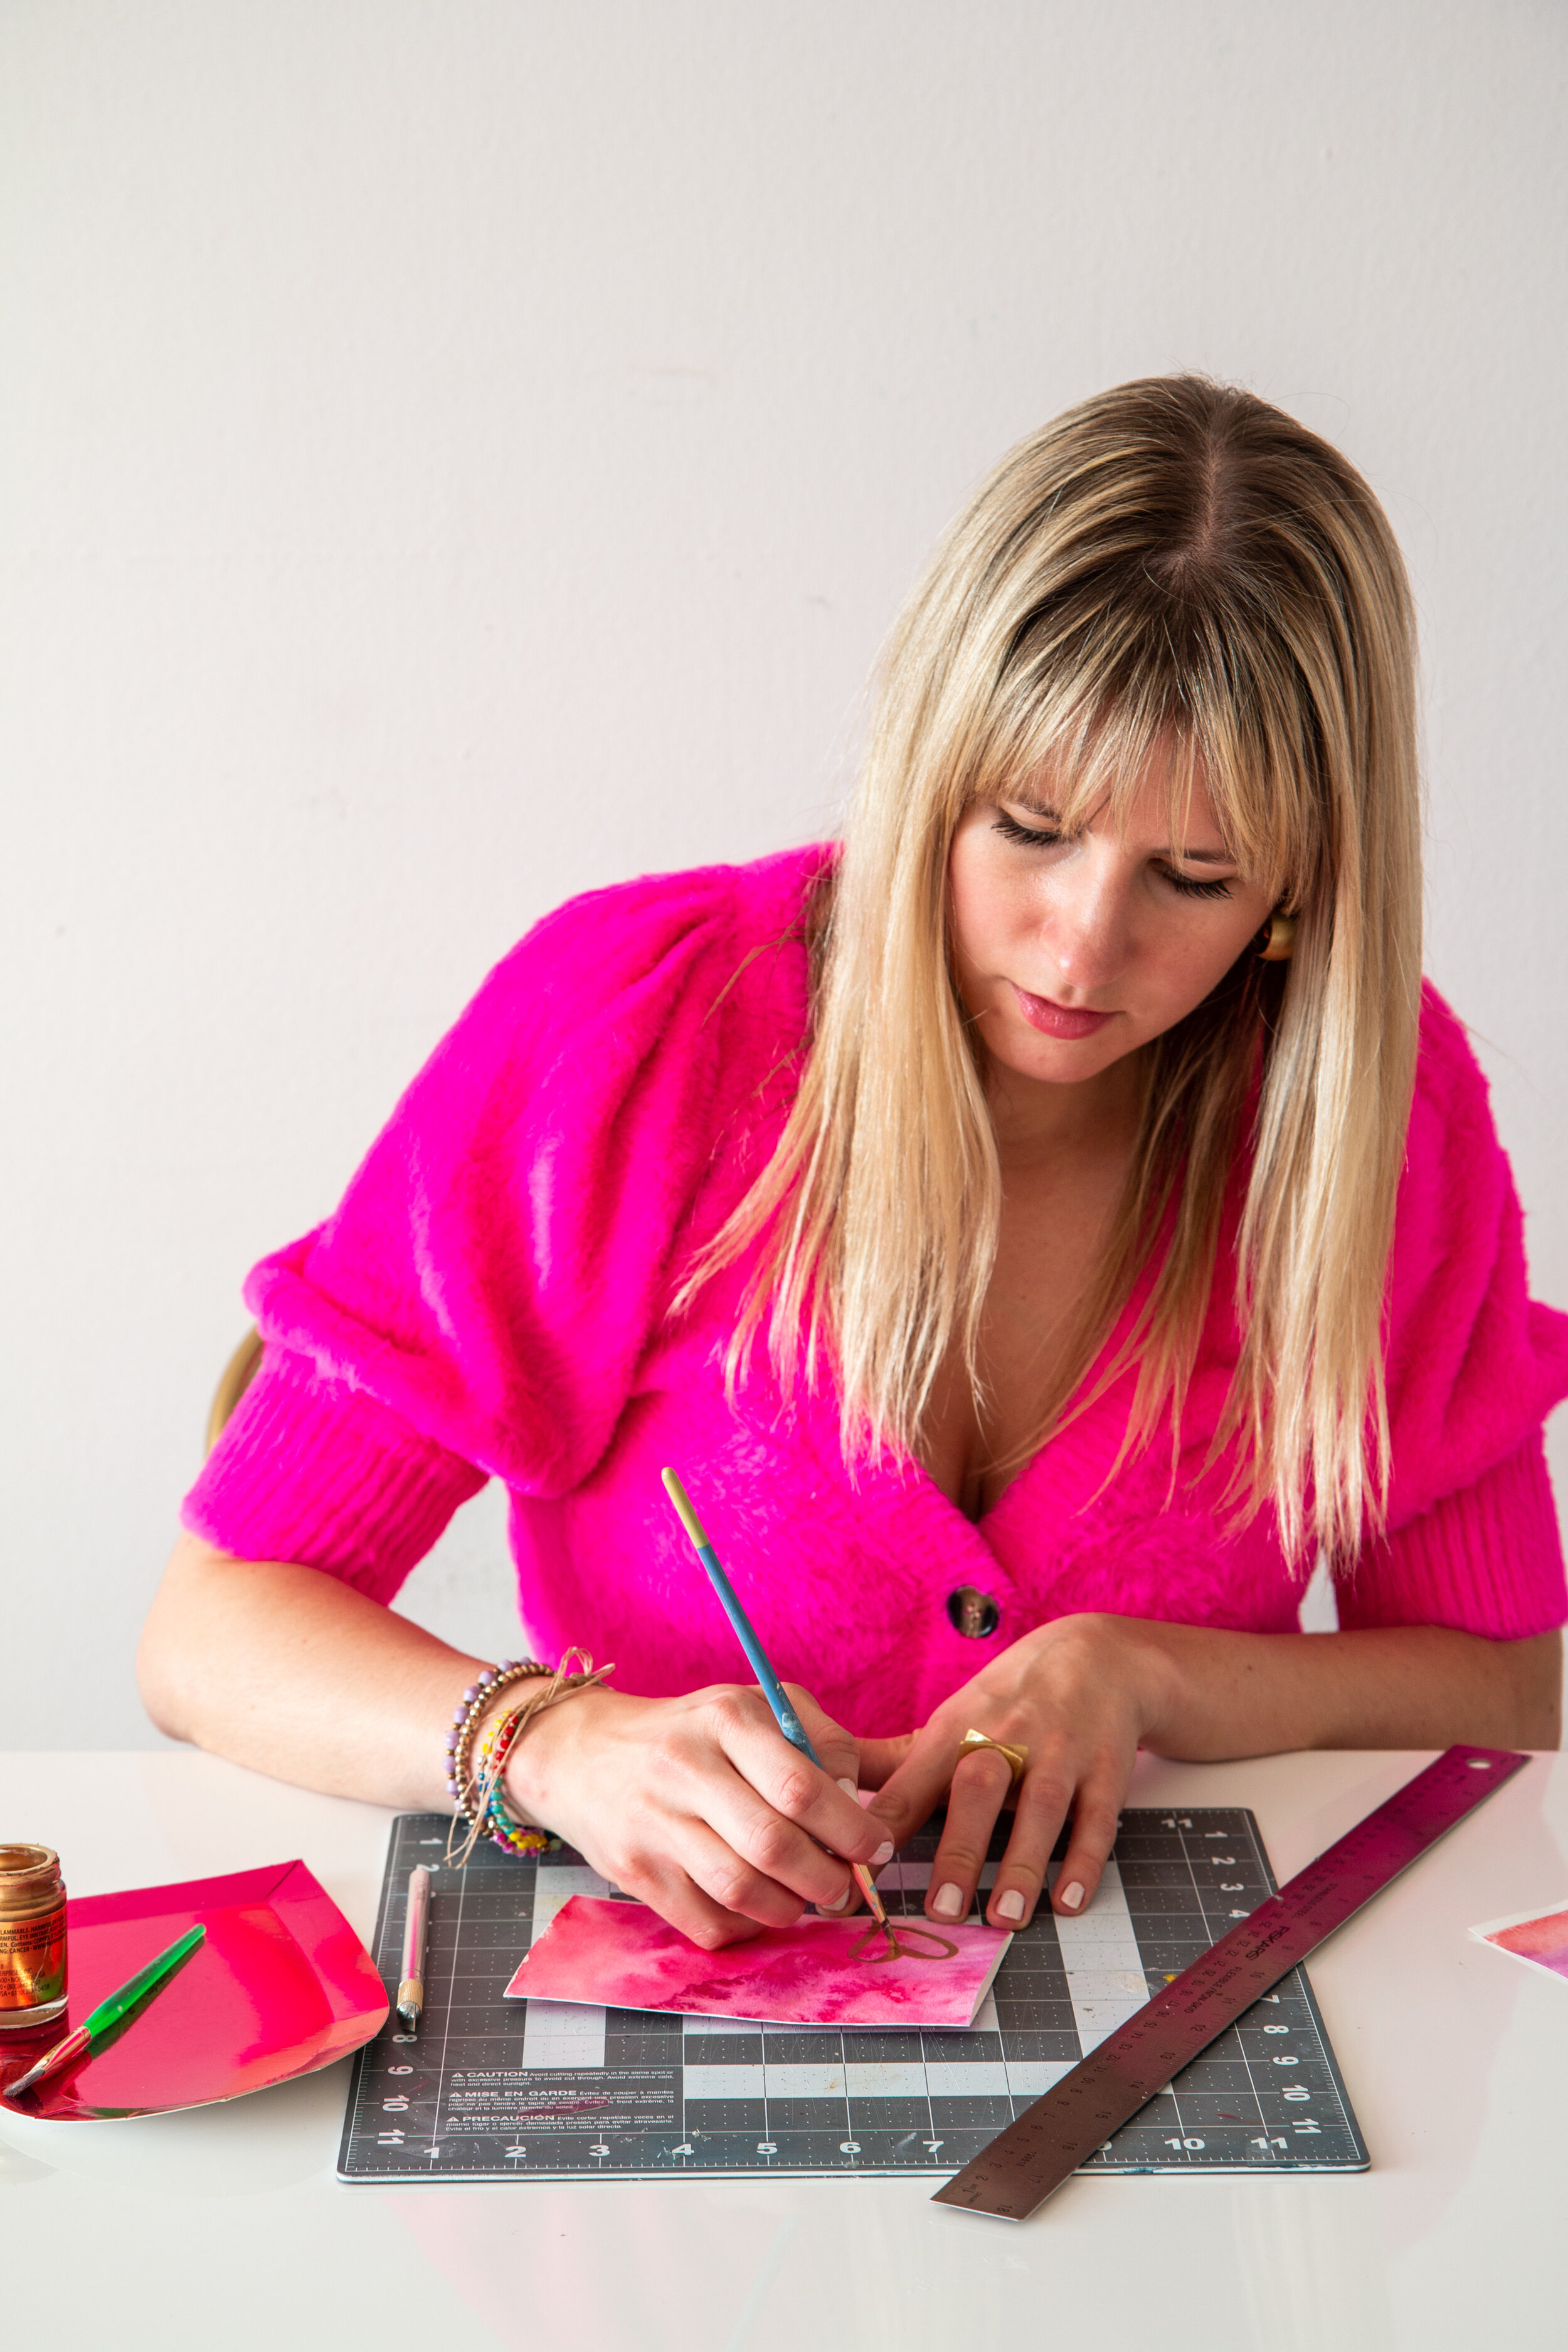
fiskars cutting mat and fiskars metal ruler- this is useful when you get down to the end of the project to trim down the paper and cut it to size
X-ACTO Knife or scissors- I prefer a craft blade like X-ACTO because it will make the trim clean and precise, but definitely not make or break
paper plates or a palette
Step 1: Tape your edges down so your paper stays flat. Coat your page with a thin layer of water.
Step 2: Start to add color from your chosen paint colors into the pockets of water that hasn’t dried yet. Continue to add color and water as needed to fill the page or leave some white areas if you like that look! I tend to do small pockets of all colors so no section is just red or just pink, but has some depth with variation of color as it mixes with the water.
Step 3: Repeat the process on as many pages as you need. 1 sheet sized at 9”x12” will make 2 valentines, so decide from where how many pages to fill with paint. Allow to dry for a few hours at least. Feel the paper and make sure it feels very dry before moving on.
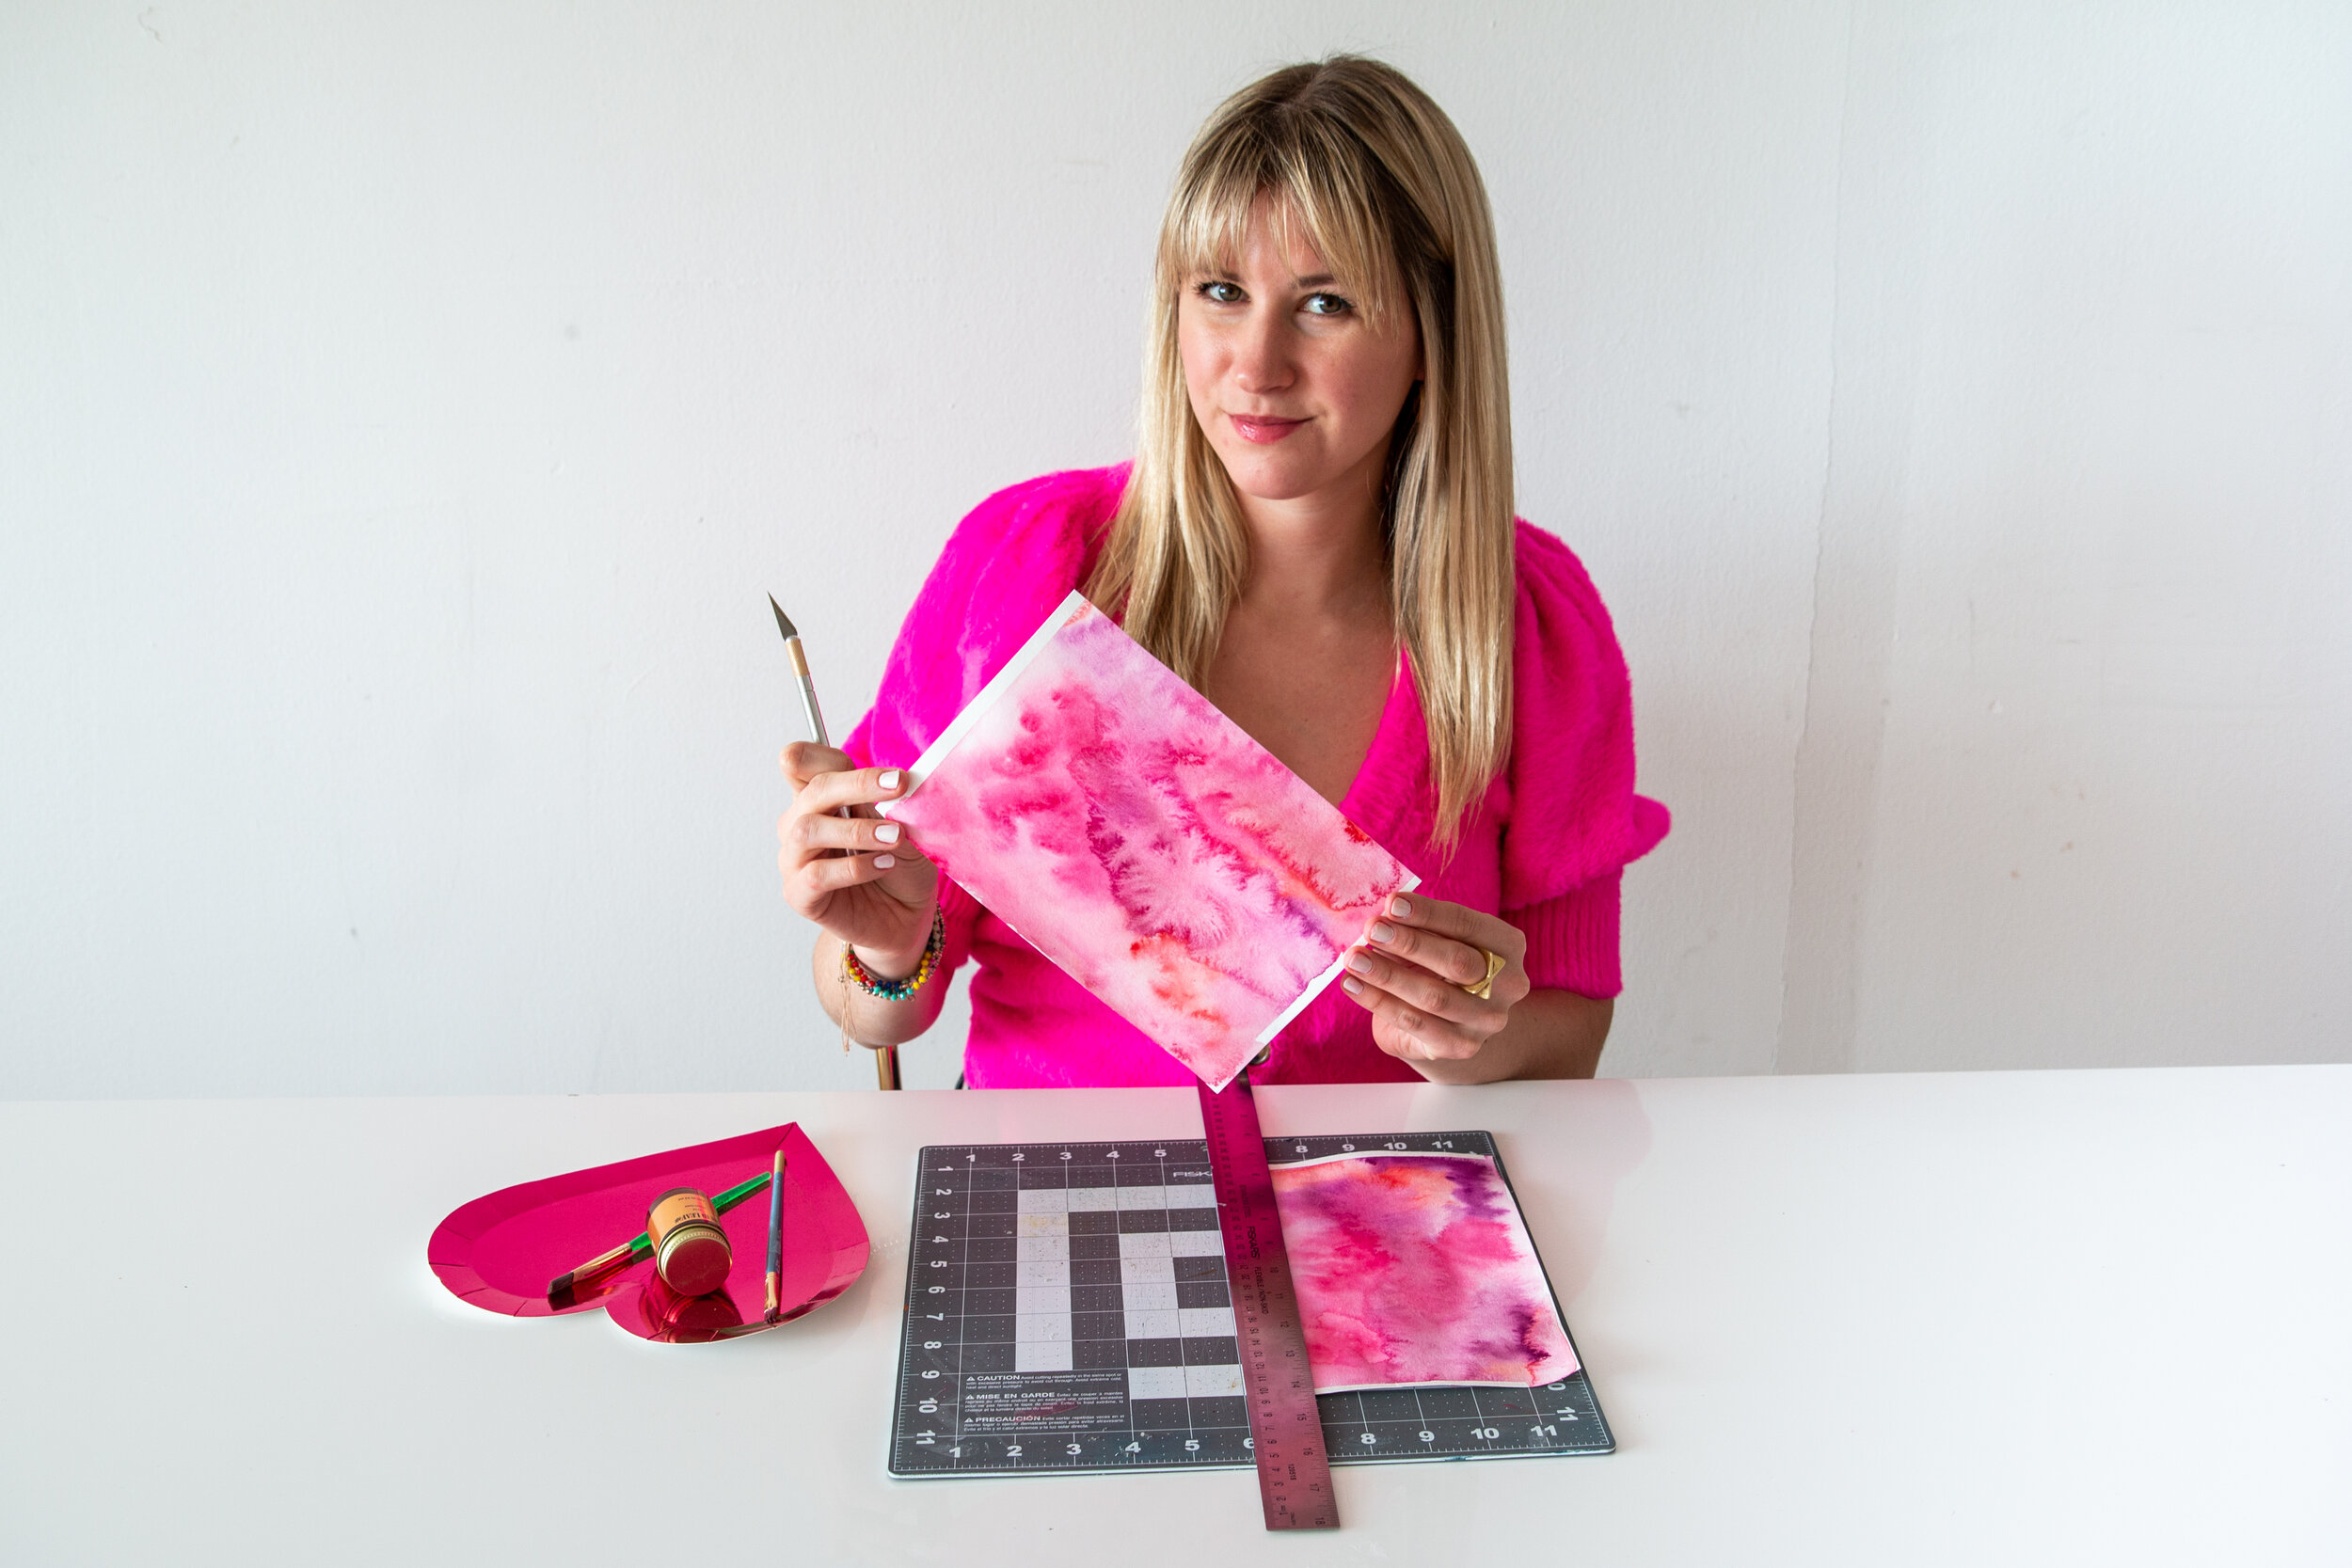
Step 4: Once dry, remove the tape, trim the edges, and cut the page exactly in half, width-wise. Each half of the paper should be approximately 6” by 8”. This way, when you fold it in half it’s a standard 4”x6”
Step 5: Add the finishing touches! I used the gold leaf to draw hearts and splatter the edges. Have fun with your design! Add “xoxo’s” or “love” or keep it simple like me and just add hearts.
I hope you have a chance to make your own DIY Valentines this year. We know your loved ones will appreciate it! Happy Valentine’s Day!

