DIY Home Decor Ideas, Inspired by Spring Fashion
Last month we received a large box full of 3m products and I couldn't have been more excited to tear through it. We depend on 3m for our events because we cannot damage the walls in venues or our clients homes when we hang decor making us very familiar with the products.
We were challenged to make DIY Decor projects inspired by two of the current spring fashion trends: Florals and Stripes. We took the challenge and I think you're going to LOVE what we came up with!
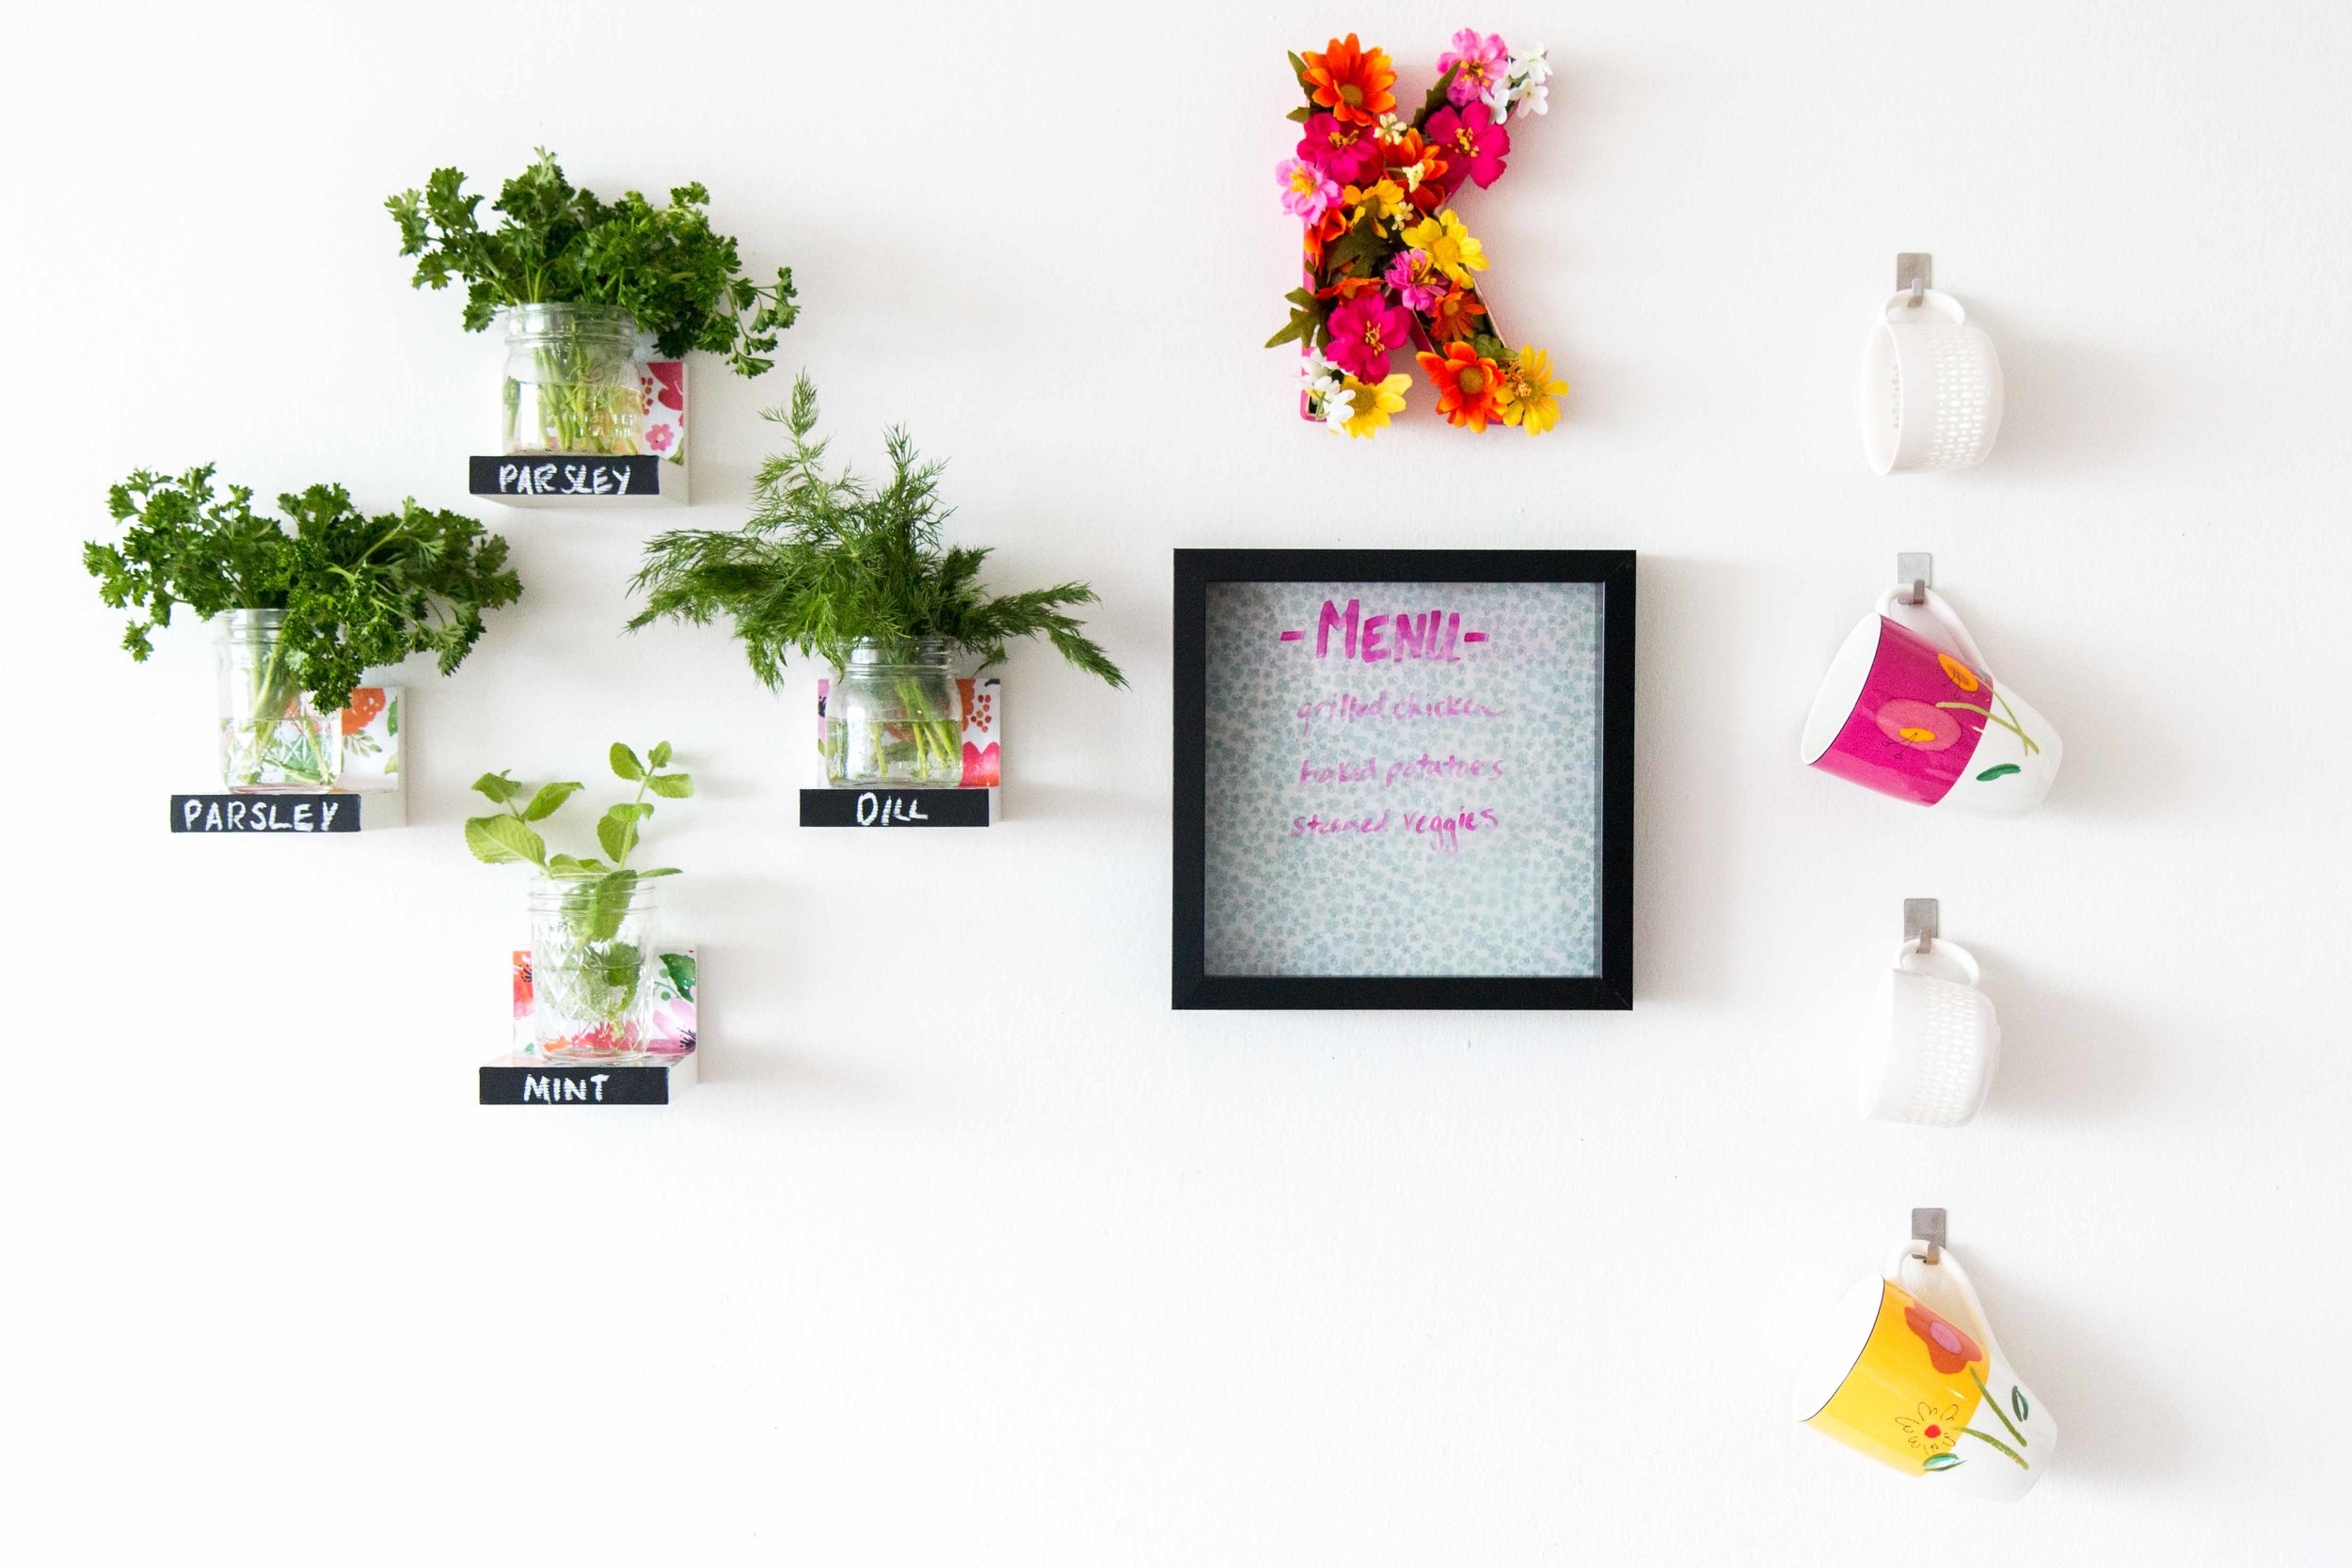
First, we made a Kitchen Gallery Wall that is absolutely fantastic. Functional and beautiful and so easy to make. Check out our segment showing the details of this DIY on NBC's Open House TV now!
Below you'll find the exact steps to make this Home Decor project yourself. Trust us, you can do it! We also included the steps to make a really cool hanging wall shelf for your bedroom (or any room in your home) to hang chuchkas and books. ENJOY and happy spring home decorating!
DIY Kitchen Gallery Wall
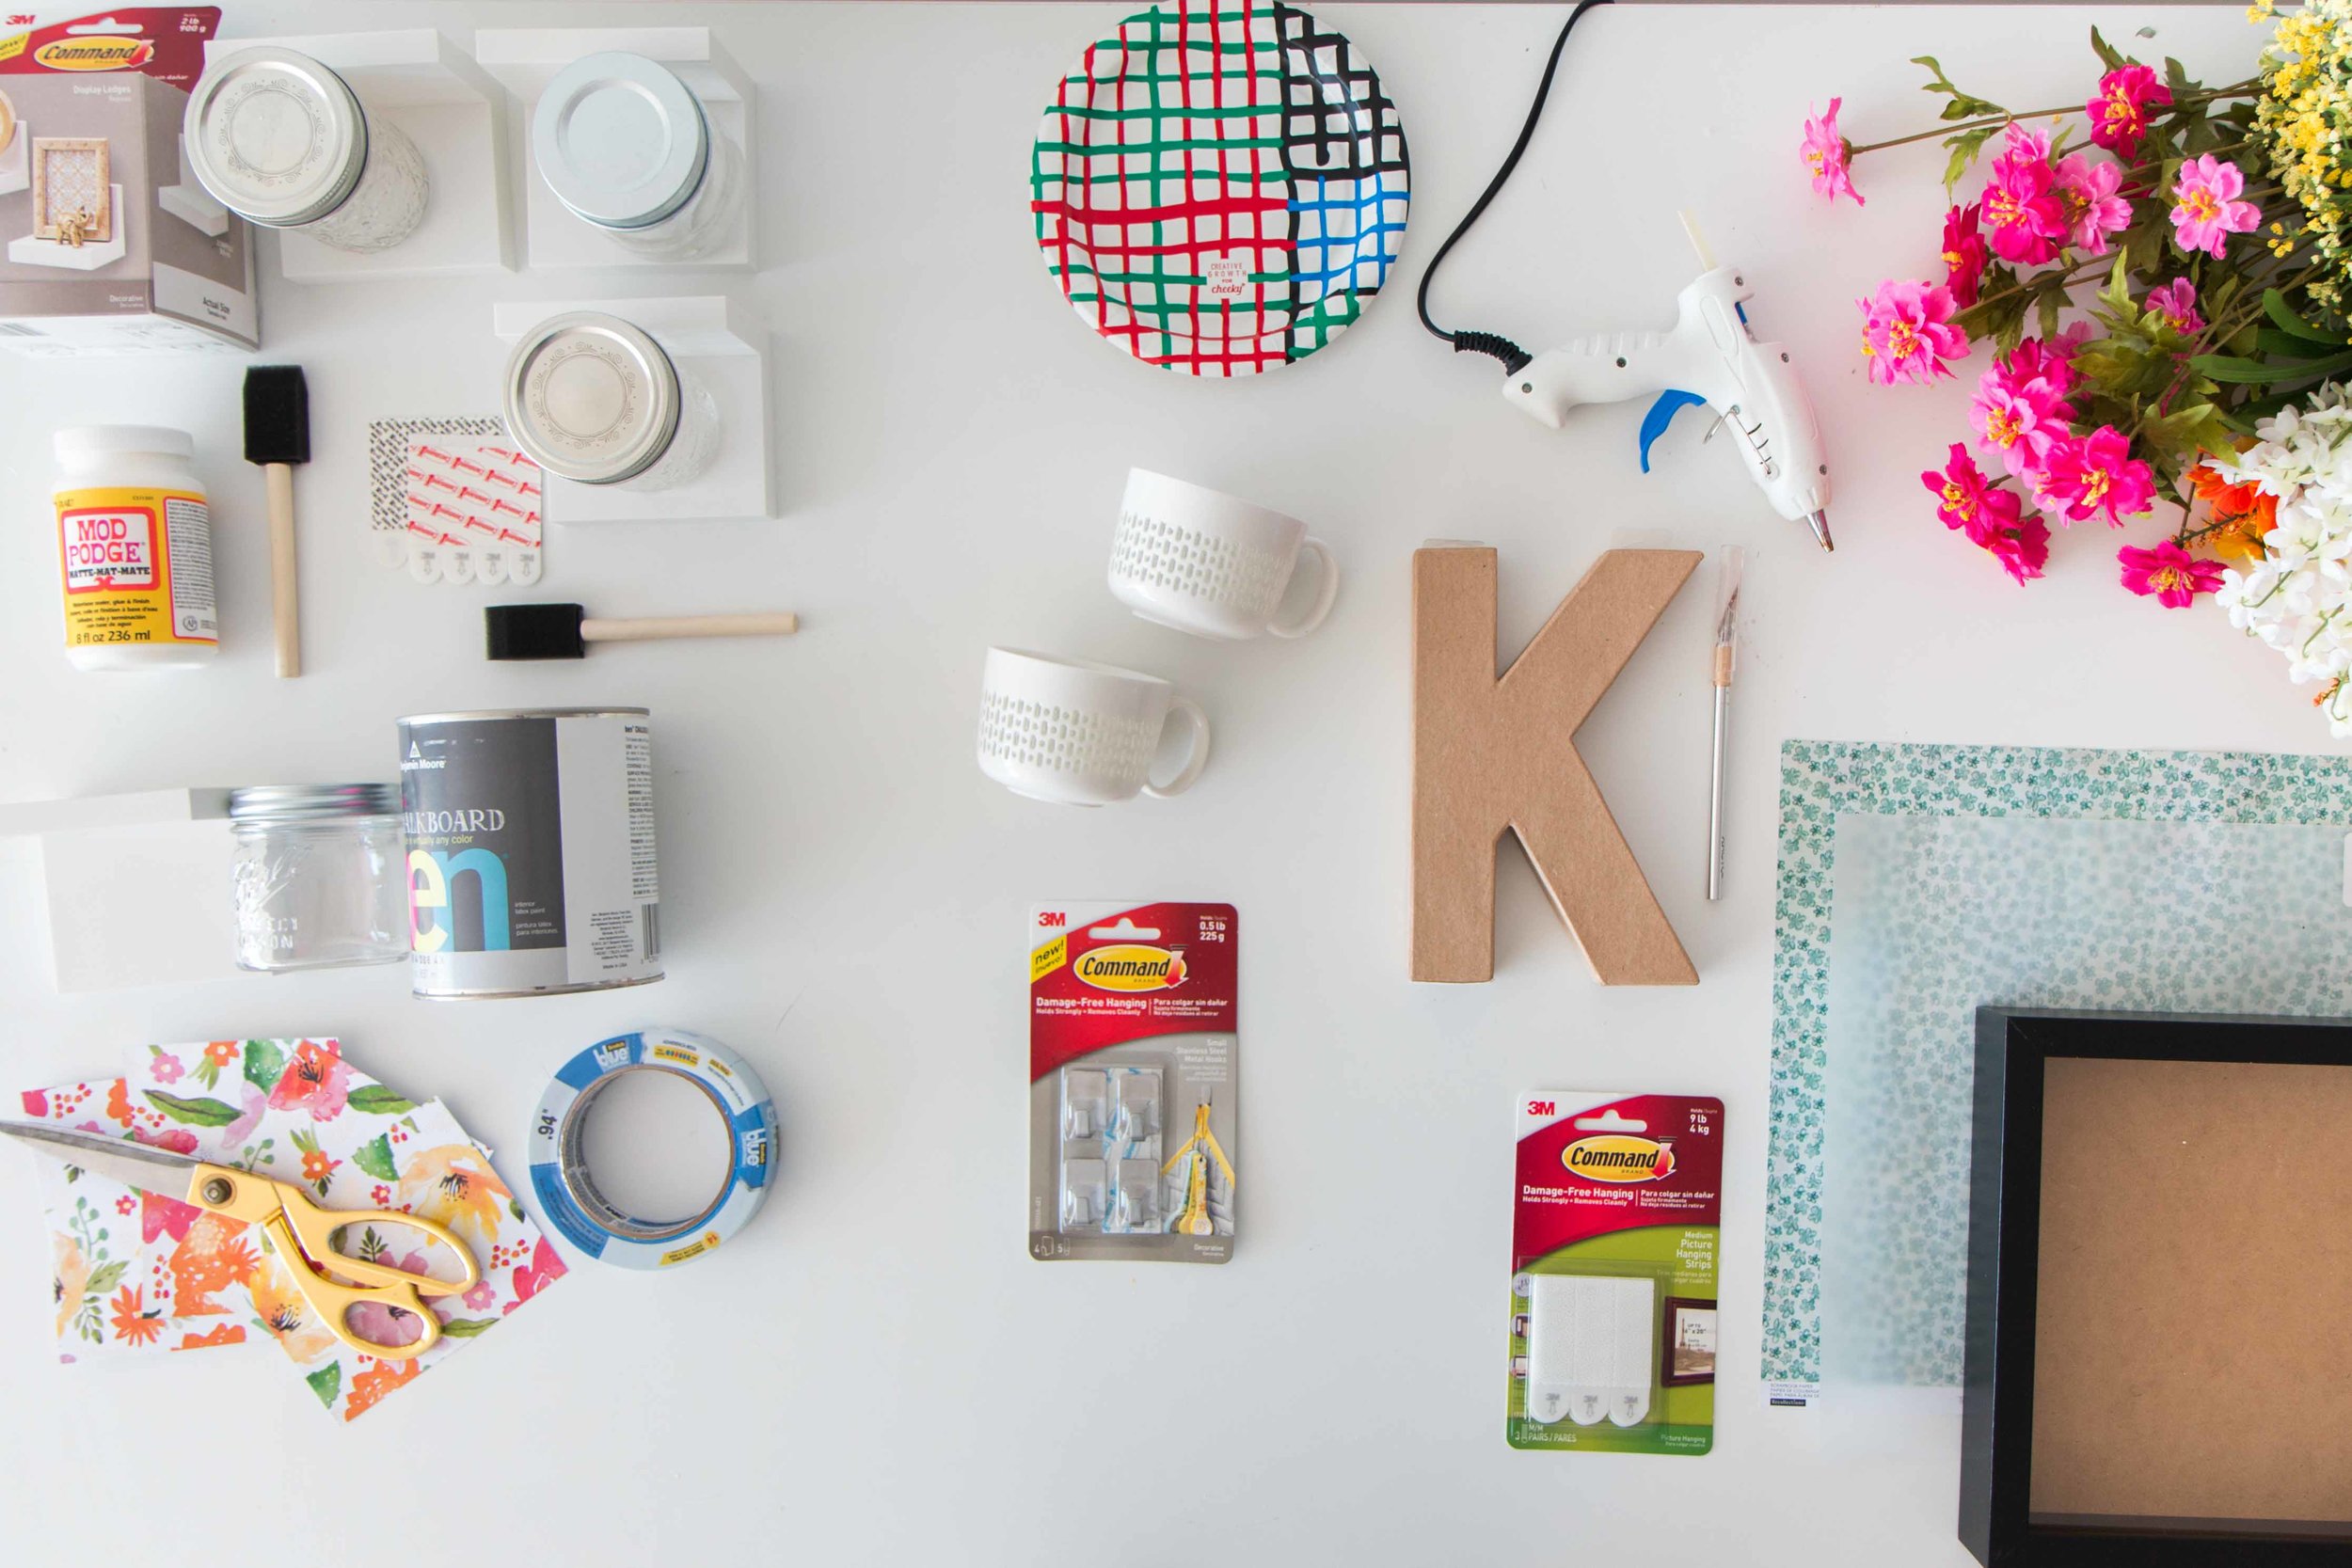
Supplies:
- 3M Display ledges
- Patterned Paper of your choice (for us we chose floral paper because we were inspired by the floral trend happening right now)
- Mod Podge
- Brush
- Scissors
- Chalkboard Paint
- Chalk
- Mini mason jars
Directions:
Step 1: Use painters tape to protect the edges of the ledge
Step 2: Paint the front panel of the ledge with chalkboard paint
Step 3: While the paint dries, Cut Paper to size of the inside ledge and backing of the shelf (should measure to 3.9” x 5.4” after cut)
Step 4: Fold a crease in paper for easy application
Step 5: Mod Podge directly onto the display shelf, then stick paper on top
Step 6: Mod Podge on top of paper to seal it & create a smooth finish on top
Step 7: Using the 3M double sided command strips, attach your ledge to the wall. Allow to set on wall for 30 min. Then place your herbs onto the shelves, write the name of herb directly onto the painted face of your ledge and switch up when and as desired.
Dry Erase Menu Frame
Supplies:
- Frame of choice with glass front
- Pattern paper with light tone
- Piece of vellum
- Dry erase markers
- scissors
- 3M strips - Medium picture hanging strips
Directions:
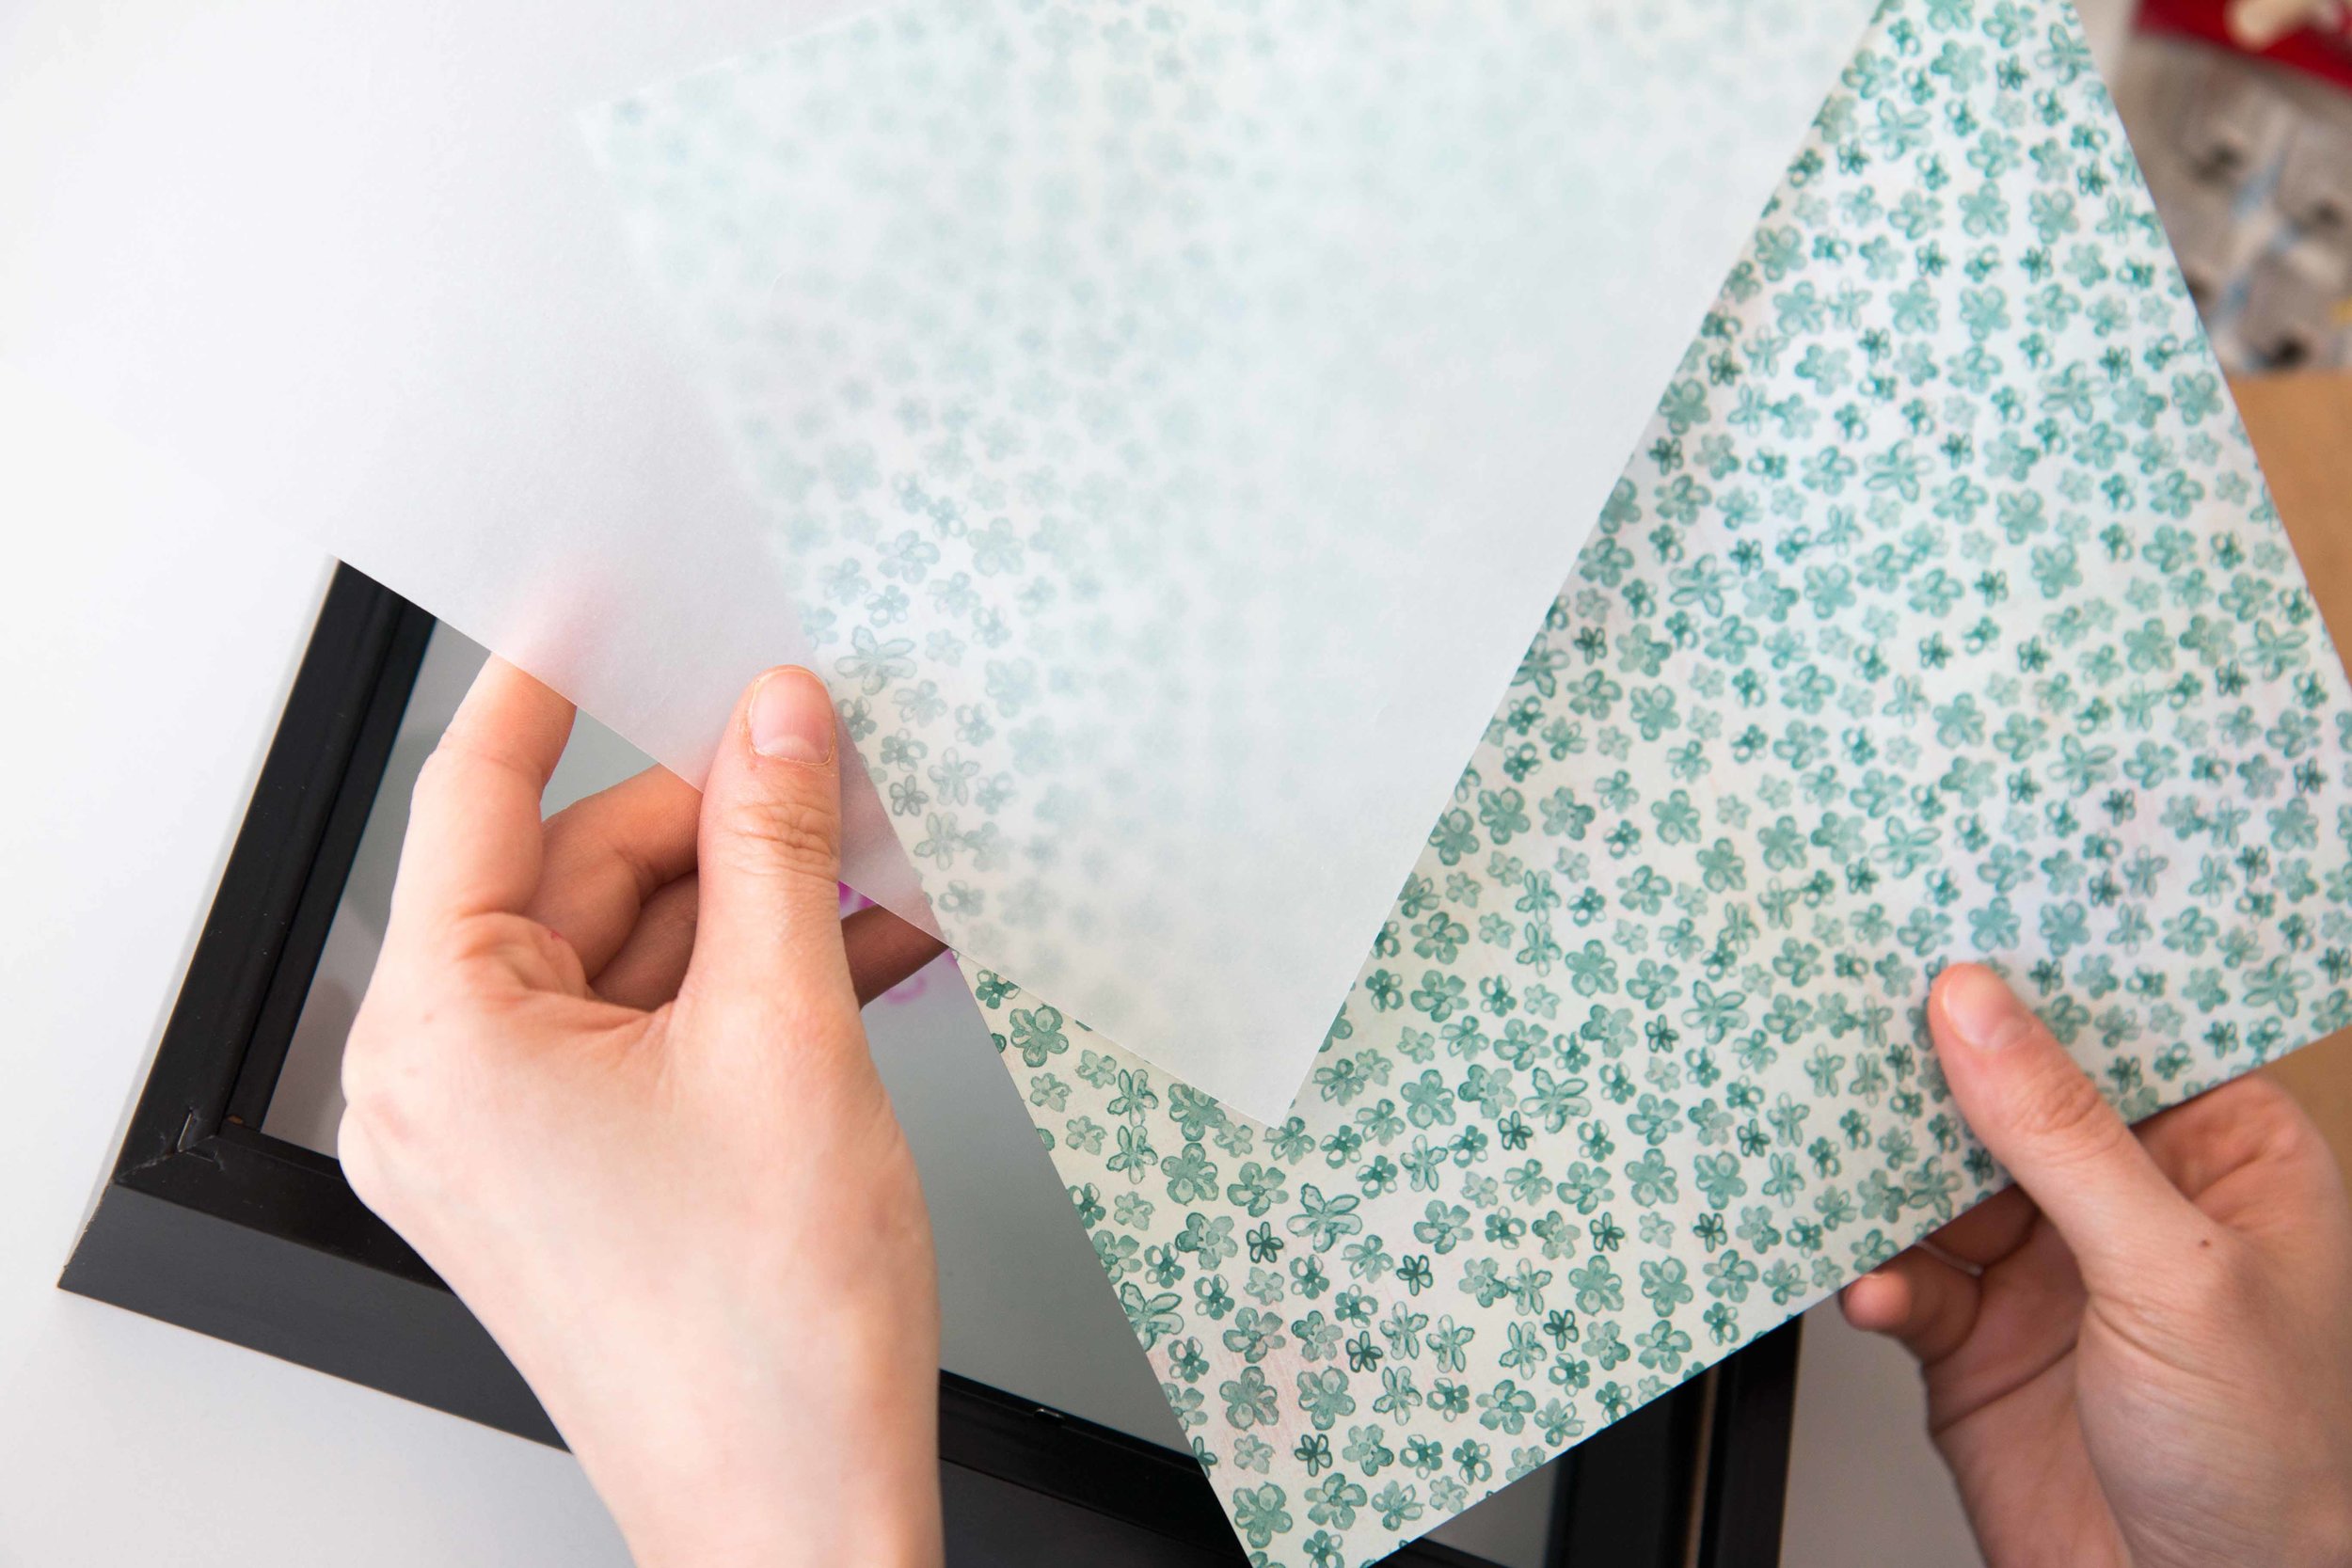
Step 1: Cut paper and vellum to size of frame
Step 2: place in frame (vellum on top)
Step 3: Use 3M strips to place on wall
Step 4: Use dry erase markers to write your menu on the frame
DIY Wall Shelf
Supplies:
- wooden shelf from your local hardware store (7.8" x 23.8”)
- washi tape in an assortment of colors
- Leather or rope of your choice (12 strands of leather or rope, each 42” long)
- Krazy glue
- small can of spray paint in a color of your choice
- 2 x large brushed nickel metal hooks
Directions:
Step 1: Spray paint the metal hooks and allow to dry.
Step 2: Pencil in the placement of your hooks on the wall and use a level to make sure placement is straight. Hooks should be 18” apart. Adhere the hooks to the wall following directions on the package. allow at least 1 hour for hooks to set.
Step 3: Apply washi tape in diagonal stripes or pattern of your choice.
Step 4: Separate your leather strips into 2 equal groups. Use Krazy glue to attach 6 of the strands leaving 3” at the end for fringe.
Step 5: Repeat for the second set of leather strips
Step 6: Double the pieces of leather and braid.
Step 7: Connect the two ends with a smaller piece of leather to create a tassel
Step 8: Slide the shelf into the leather strips and attach the leather strips to the hooks to hang the shelf.
Decorate with your favorite items.


