
Ready, Set, Weekend with The Garden of Eatin'
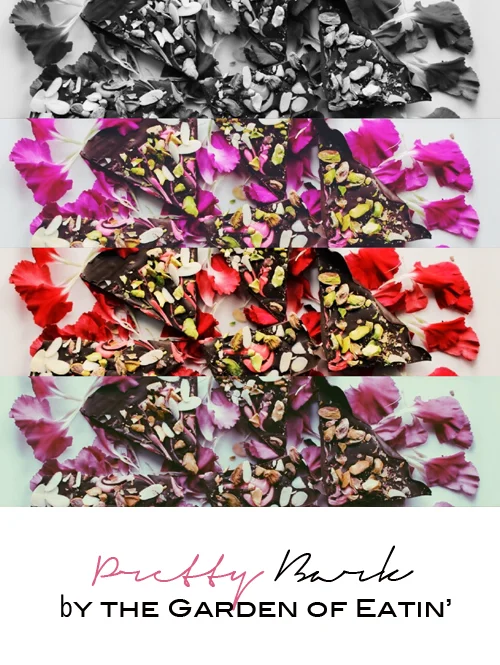


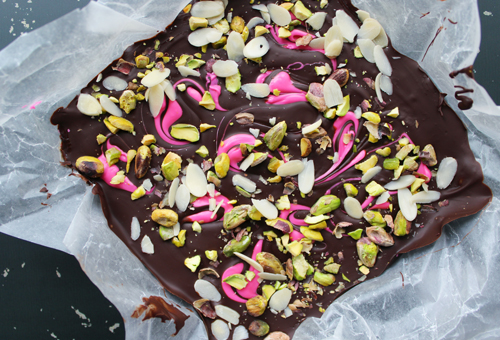


This is probably one of the most stunning things I have ever made in my life. Back in the summertime, I made a similar recipe using a yogurt and fruit combo and kept it very healthy. From what I have been reading lately, dark chocolate is now the new yogurt and is considered to be good for you. Here’s some facts about the health benefits of chocolate that I found very interesting (and if this is true….COME TO MAMA BABY!) 1. Chocolate decreases stroke risk 2. Chocolate reduces the likelihood of a heart attack 3. Chocolate protects against blood inflammation 4. Chocolate helps with math – * I wish I knew this when I was in school because I suck at arithmetic 5. Chocolate may prevent cancer 6. Chocolate reduces the risk of diabetes 7. Chocolate is good for your skin 8. Chocolate can control coughs 9. Chocolate improves blood flow 10. Chocolate strengthens your brain 11. Chocolate makes you live longer – see cool fact below Jeanne Louise Calment lived to the age of 122—the oldest anyone has ever lived. She ate two and a half pounds of dark chocolate per week. Researchers found that eating chocolate actually adds two years to your life expectancy…..(two pounds of chocolate a week???!! It may help you live longer but what size jeans did this Jeanne Louise Calment wear??) Okay, so don’t just start binging on chocolate! Most of the chocolate you buy in the grocery store is heavily processed, which means that it has lost many of its healthy chemicals. And some of the research above supporting chocolate’s healthy characteristics was paid for by chocolate manufacturers….well duh. Check out your local organic food stores for the unprocessed kind. Um…if all of the above could remotely be factual, then why not indulge? The Garden of Eatin's Chocolate Bark: 16 ounces melted best-quality dark, semi or milk chocolate (2 bars) 3 tablespoons melted coconut oil (colored melting chocolates, optional) 2/3 cup mixed toppings such as nuts, coconut, sea salt, cranberries etc. (might as well go wild since you are going to be scarfing down chocolate). Can we talk about the ins and outs of melting chocolate for a second? I always like to speed things up in the kitchen. Lately I have been melting chocolate in the microwave and although the results are good, there really isn’t anything quite like doing this task in heat proof bowl over slow boiling water. How to belt out a perfect melt: Place water in the bottom of the double boiler or a use a pot and a heatproof glass bowl that fits well inside and doesn’t touch the water (leave about a ½ inch space between the water and the bowl). Place the double boiler over low heat. Stir the chocolate constantly until it is melted. The water in the bottom of the double boiler should not come to a high boil while the chocolate is melting. Working with chocolate has to be quick so that it doesn’t harden. Your chocolate should have a beautiful sheen to it and should be a good consistency for spreading. If by chance the phone or doorbell rings in the middle of this project and your chocolate turns to glop, fear not. There is a way to fix it. Just place the bowl over the water again and add a few drops of water to the chocolate, stirring constantly until you regain that smooth sheen and consistency back. Next: Line a baking pan with wax paper. You can use a small baking sheet OR a 8 inch square pan. I opted for the pan because I wanted a thicker piece of bark to sink my teeth into…OH YA. Spread your melted chocolate evenly in the pan and dot with melted colored chocolates, if desired. I used the end of a chopstick to make my marble swirlies but this is totally optional. It was fun and pretty to do but let’s face it, if you are making this for yourself you don’t need to fuss. If you are considering this for a gift, which is an awesome idea, the possibilities are endless. Once your chocolate base is ready top, with any combo of goodies you desire. I used crushed pistachios, sliced almonds and coconut. Chill until firm and then crack em up with a mallet or just punch the heck outta of it with your fist. I like this idea…don’t you? See ya next week! debi @thegardenofeatin xoxo